VPECKER Easydiag WIFI Wireless OBDII full version is a newly developed diagnostic scan tool that supports up to 70 car makers from European, Asian, American, and Chinese vehicle brands. It is the perfect replacement of multi OBD2 scanner tools, like some X431 scanners and Autel scanners.
Software version: V4.13
Update: online
Multi Language: English, Chinese, Japanese, German, Russian, French, Italian, Spanish, Portuguese, Polish, Turkish, Dutch, Hungarian, Korean, Czech, Arabic, Indonesian, Persian, Thai, Vietnamese, Finnish, Swedish, Romanian, Bosnian, etc. (English & Spanish are default, others language will be continuously updated)
Computer requirement:
Hardware requirements: laptop, PC and PAD with Wi-Fi or Bluetooth. Space of system disk can’t less than 5G, and RAM can’t less than 1G.
Operating Systems: Win XP, Win 7, Win 8 to Win10 (NO Windows RT)
Network requirements:
The software needs to be activated & downloaded online, so please make sure your internet is connected.
Here is the software installation instruction on Win 7 O/S, if you need to install on Win XP, check the Vpecker Easydiag User Manual here.
http://www.obdexpress.co.uk/upload/pro/vpecker-easydiag-user-manual-obd2express.pdf
VPECKER Easydiag OBD software on Win 7 installation guide:
Main steps:
1.Download software
2.Install software
3.Activate software
4.Update software
5.Enable wireless connection
6.Diagnose cars
Step 1: Download software
Browse to official website: http://www.vpecker.com/vpecker-software-download/ and download “Vpecker setup V4.11.zip”
Click “Download” tab
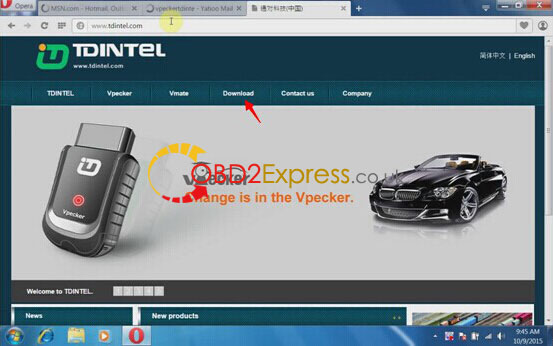
Download “Vpecker Setup V4.13”
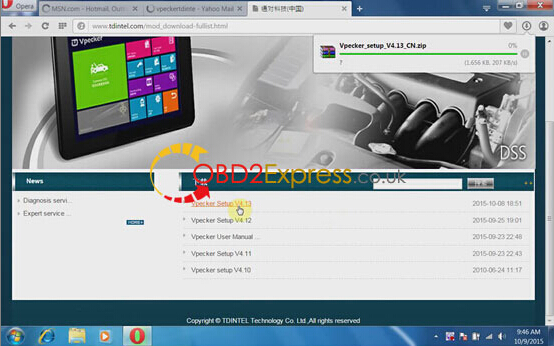
Unzip Vpecker Setup V4.13 update file
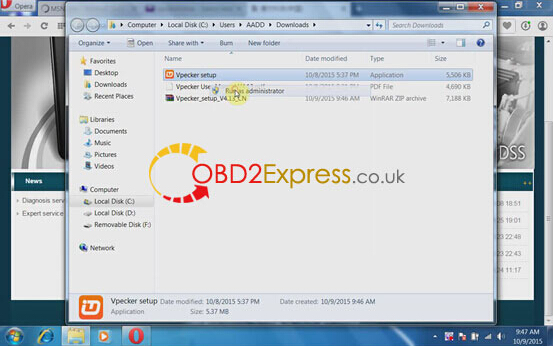
Right click “Vpecker Setup” and click “Run as administrator”
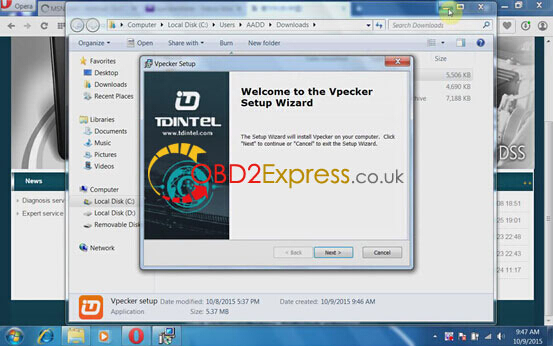
Install Vpecker Setup Wizard, click “Next”
Save file to certain folder, click “Next”
Click “Install”
Click “Finish” when setup installation is completed
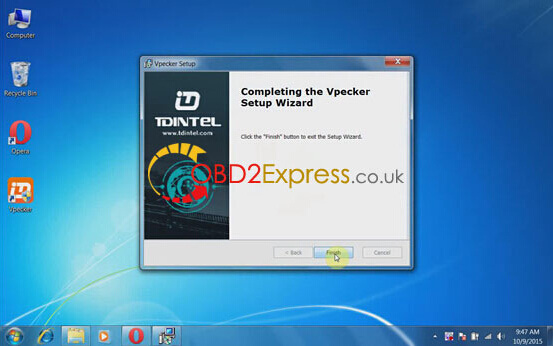
Step 2: Install software
Open Vpecker software on desktop
Right click Vpecker software on desktop, run as administrator
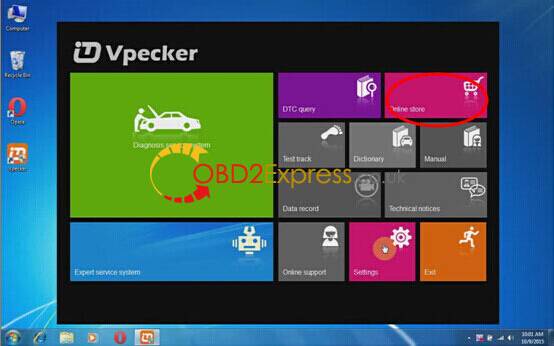
Click “Online store”
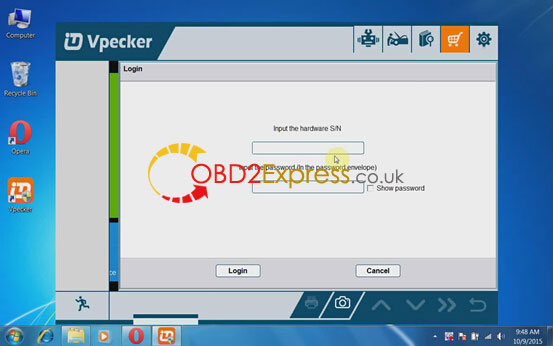
The system will require to enter S/N and password
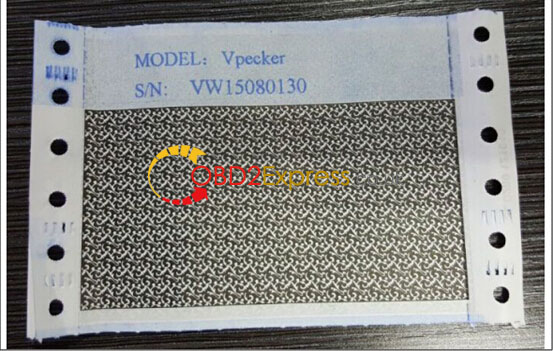
S/N and password can be found from envelope
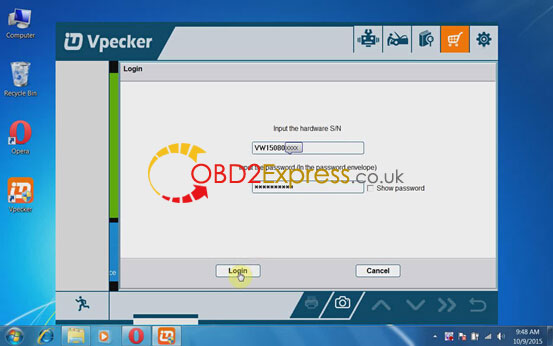
Enter serial number and password, click “Login”
Step 3: Activate software
The system will ask if to active the software, click “Yes”
Input customer information, email, country, company etc, click “Activate”
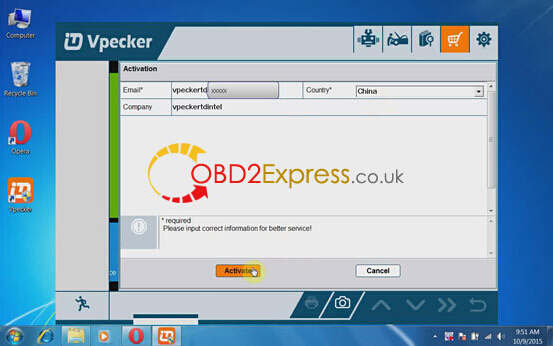
Click “Yes” to confirm the customer information you entered
Click “Yes” to login to your email
NOTE:
Note: Your email address must be real in order to get the activated link and the further better service from the manufacturer. The software update reminder and the new product release information will be sent to your email.
Company name: company name must be filled in and the length is within 250 characters.
Country: please choice your country in the list.
Press “Yes” to confirm your information:
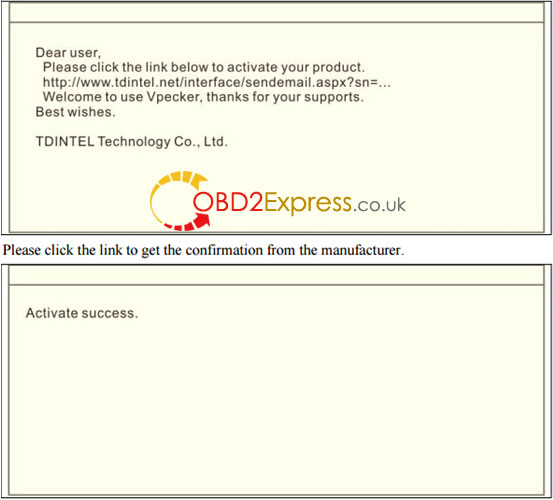
Activation success.
Step 4: Update software
After the activation, please login the online store again, and get the APPs upgrade
Login software and start to download update software
There are two modes for downloading, one by one and one-click. Software download may take sometime, please wait patiently until software you need to download is completed.
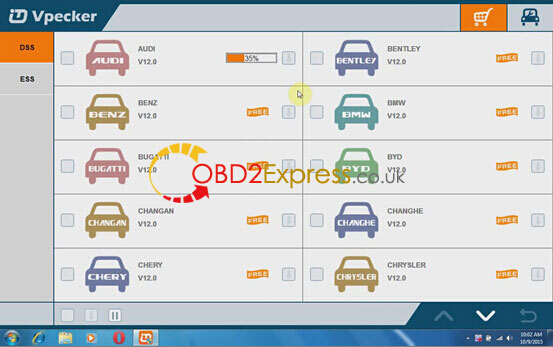
You can manage software update by removing update software as well.
Software upgrade is completed.
Step 5: WIFI Wireless connection setting
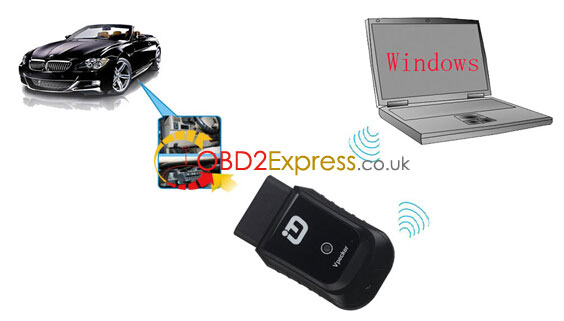
Follow the connection diagram to connect Vpecker Easydiag OBD2 code reader
Connect Vpecker Easydiag OBD2 scanner with vehicle and Tablet
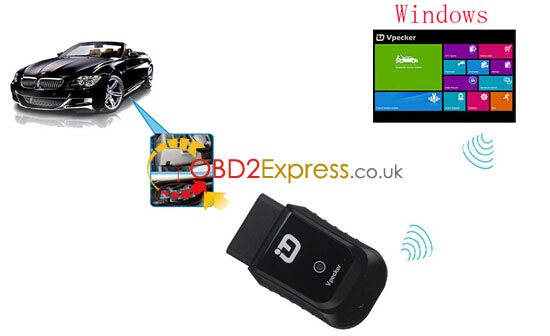
Connect Vpecker Easydiag OBD2 scanner with vehicle and computer
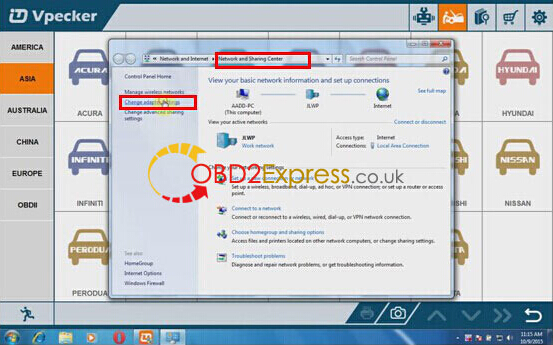
Open V-pecker “Online store” again
Open Network and sharing center on the toolbar
Click “Change adapter settings”
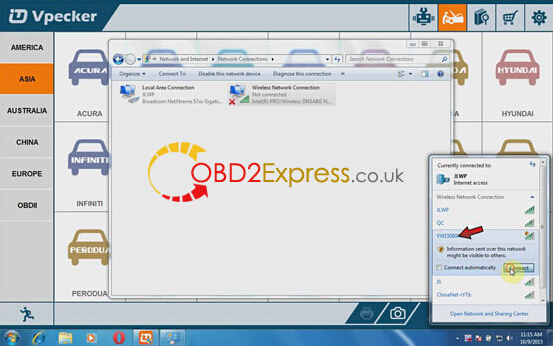
Enable wireless network connection
Select Wireless connection “VW1508008”, click “Connect”
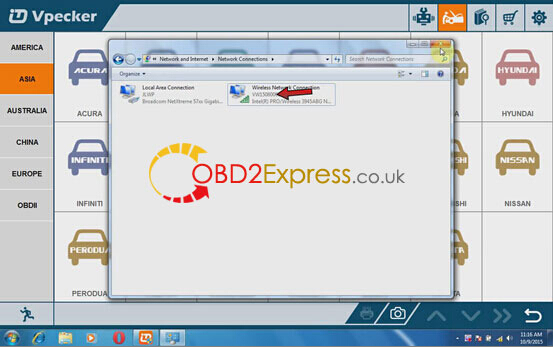
Step 6: Diagnose cars
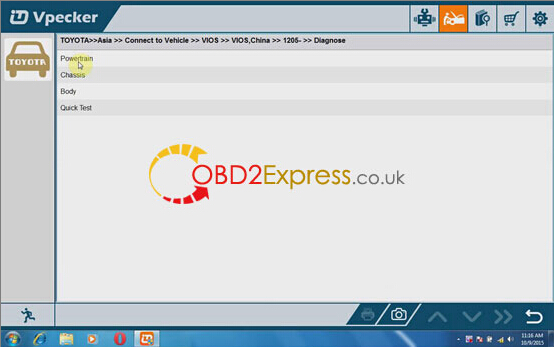
Start to diagnose cars
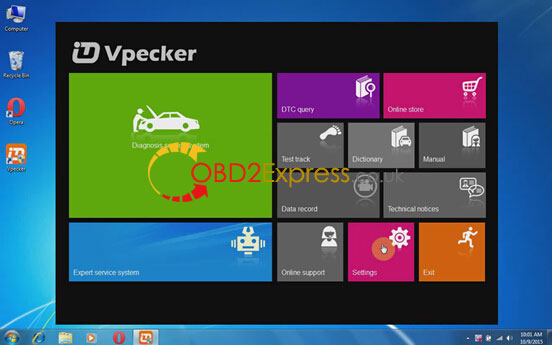
Select “Diagnose service system” in Vpecker app
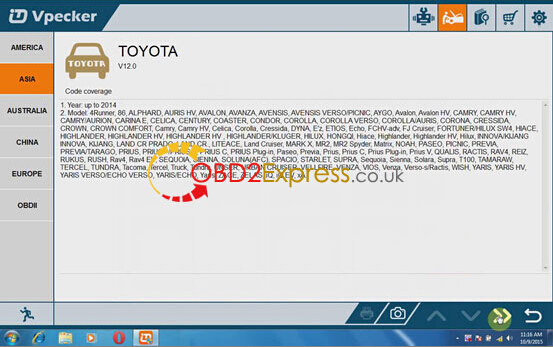
Select car brand, eg. Toyota
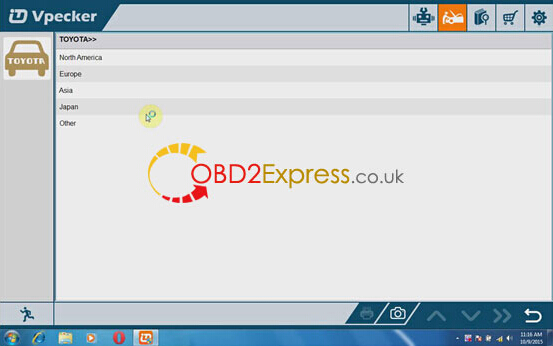
Select car region, e.g China
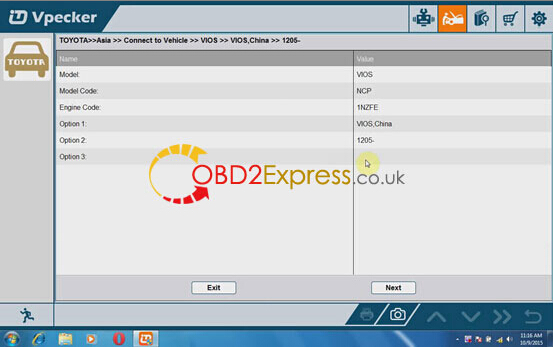
Select vehicle model, engine etc information
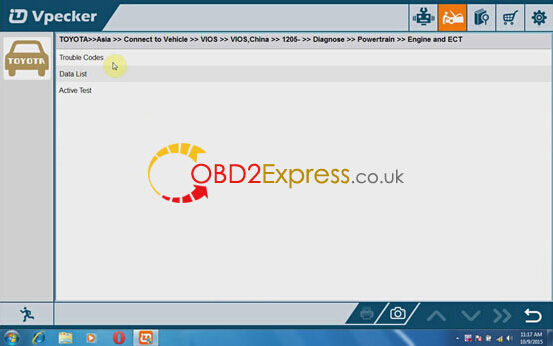
Select control unit
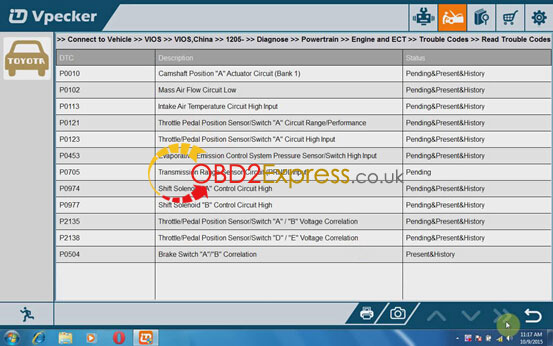
Perform clear trouble codes, display data, activate test function etc
