


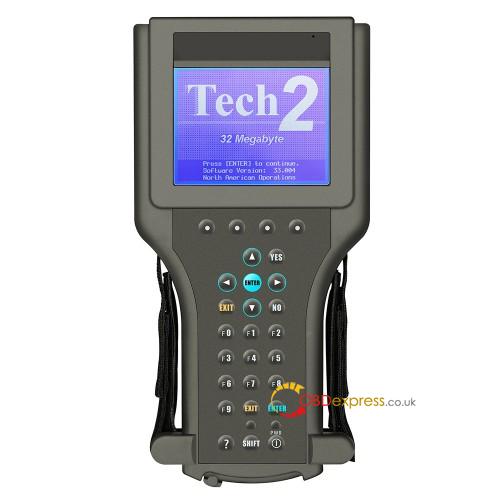
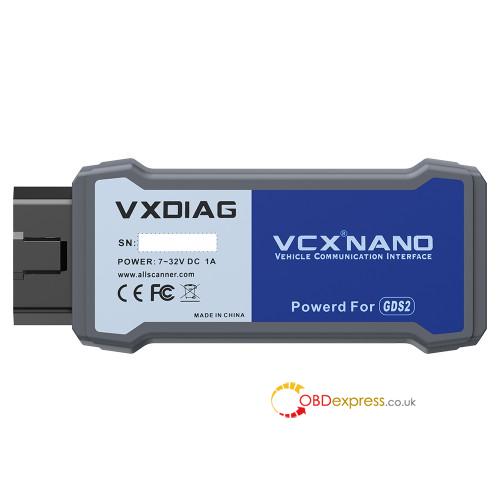
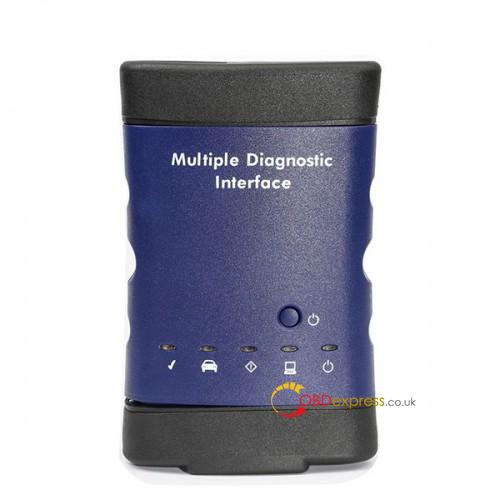
The powertrain control module (PCM) in your vehicle is the main computer controlling its various operating systems. For example, the PCM controls the engine, the transmission, the fuel system, and the speedometer. If the vehicle isn’t performing the way it should, the PCM can be reprogrammed to increase performance. Since Chevrolet is a subsidiary of General Motors (GM), GM tools and software (GM TECH2, MDI, VXDIAG) are used to reprogram a Chevrolet PCM.
Note: please pay attention to the Chevrolet year and model, some are okay, some not.
Step 1
Use your web browser to go to GM’s calibration look-up website, and type in your vehicle’s VIN number to check for any programming updates to your PCM. If there are updates, you will need to purchase GM’s techline information system (TIS) programming software and service.
Step 2
Turn on your computer and plug the scan tool into it and your vehicle, using the pass-through cable. Turn on the scan tool and load the TIS programming software from GM on your computer.
Step 3
Click the “Service Programming System” option on the main screen of your TIS software on your computer. The “Select Diagnostic Tool and Programming Process” window will appear on your screen.
Step 4
Click on the “Pass-Thru” option under diagnostic tool, “Reprogram ECU” under select programming process, and “Vehicle” under ECU location. Click the “Next” button in the lower-right hand section of the window to proceed.
Step 5
Enter the VIN number in the VIN text box in the “Determine Vehicle” window, and click on “Apply” next to the text box. This will fill in your vehicle’s data in the boxes below. Click the “Next” button to proceed.
Step 6
Go through the checklist in the “Preparing for Communication” window, and click next to confirm your VIN number. If your VIN number is incorrect, enter the correct one. Click “Next” in the bottom-right corner.
Step 7
Click on the “PCM/VCM” selection under the “Select Controller” section of the next window. Select “Normal” under programming type and click the “Next” button.
Step 8
Select the newest calibrations for each system in the “Calibration Selection” window by clicking on each system’s tab, and putting a check mark next to the highest number of calibration. Click the “Next” button in the bottom-right corner of the window after every tab has a green check mark on it.
Step 9
Click “Next” at the summary screen after verifying your recalibrations. If all of your calibrations are up-to-date, an error will appear indicating there is nothing to reprogram. If they are not up-to-date, a transfer window will open and the program will begin to download and reprogram your PCM with the calibrations you selected.
Click the “Close” button on the “Programming Complete” window after the reprogramming is complete. You can turn off your scan tool and remove it from your vehicle.
Good to know:
The pass-through cable mentioned above is any of GM Tech 2 / VXDIAG Nano / GM MDI which communicate between the vehicle and the Techline Terminal.
Before ordering the pass-through cable, please leave message at www.obdexpress.co.uk.
