



When replacing a used Mercedes-Benz 7G-Tronic transmission control unit, dealing with the factory anti-theft system can be a major hurdle. Because these modules are personalized and locked to the original vehicle’s VIN, you cannot simply swap a used unit into a customer’s car without resetting it first.
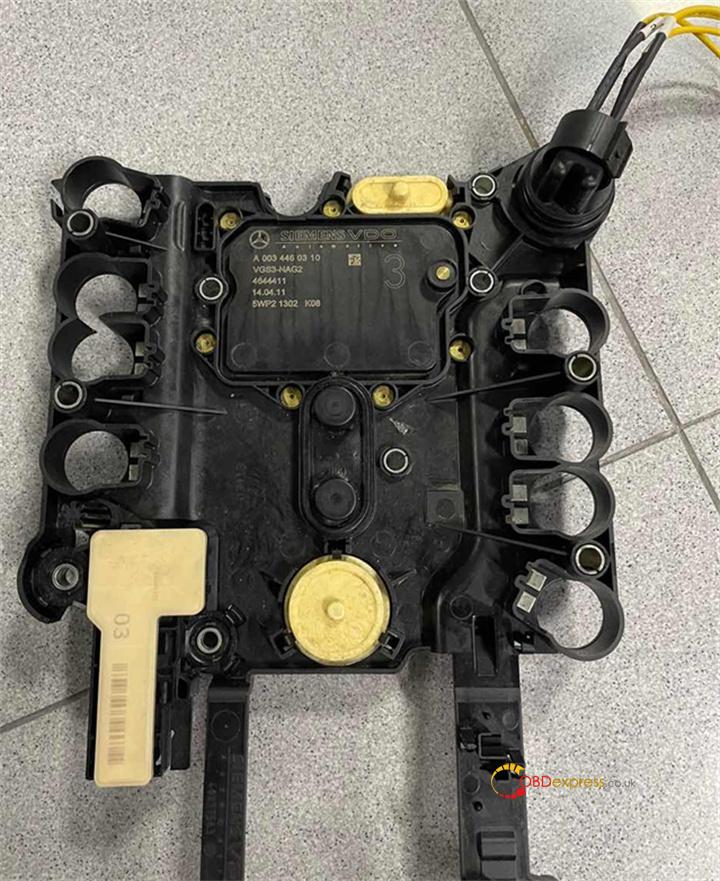
Fortunately, you do not need an expensive factory dealer tool to perform this renewal. LAUNCH X431 PRO5 diagnostic tool allows you to completely erase and renew a used Mercedes-Benz VGS3 NAG2 TCU on bench, making it ready to be personalized and programmed to a new vehicle.
In this guide, we provide a complete, step-by-step benchmark operational walkthrough for renewing a VGS3 NAG2 gearbox module.
Equipment Required
- Diagnostic Tablet: LAUNCH X431 PRO5
- Interface Box: Smartlink C VCI (Included with the PRO5)
- Target Module: Used Mercedes-Benz VGS3 NAG2 Transmission Control Unit (7G-Tronic)
- Stable Power Supply: A dedicated bench power source to maintain solid voltage during the erasing process.
Step-by-Step Operation Guide
Step 1: Access Mercedes-Benz Anti-Theft Menu
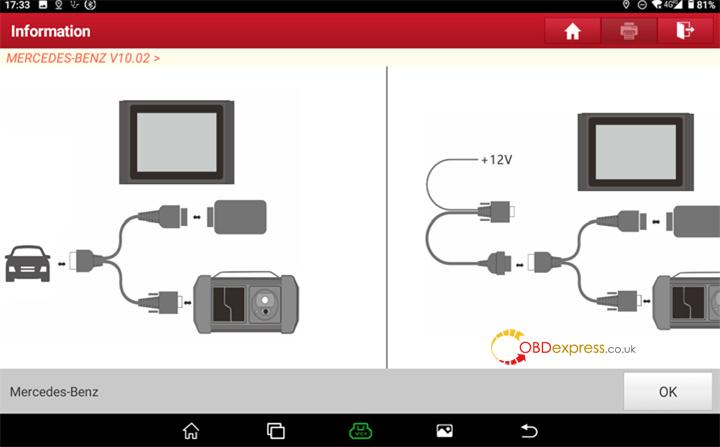
Open the diagnostic software on your X431 PRO5 diagnostic tablet and navigate to the Mercedes-Benz Anti-Theft Software. Ensure your Launch Smartlink C is powered up, and click OK on the initial prompt.
Step 2: Select ECU Erasing Function
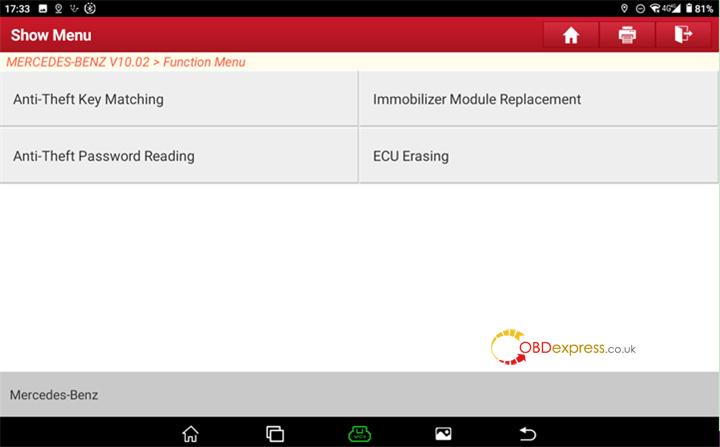
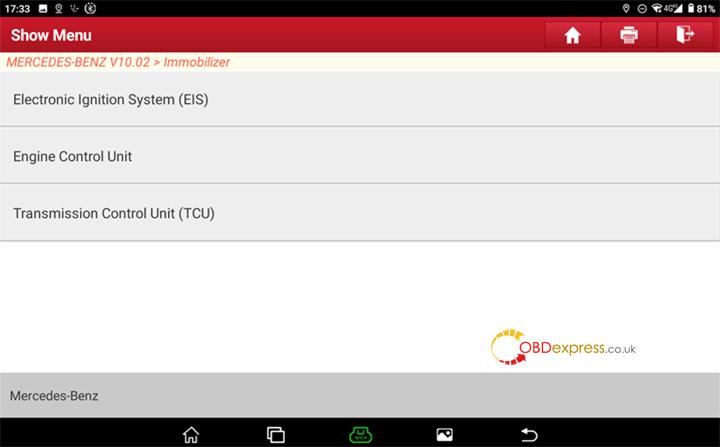
From the specialized immobilization options menu, select “ECU Erasing”. This opens up the dedicated renewal submenu for various vehicle control units.
Step 3: Select Transmission Module
From the list of available modules, choose “Transmission Control Unit (TCU)”.
Step 4: Open and Follow Pinout Wiring Diagram
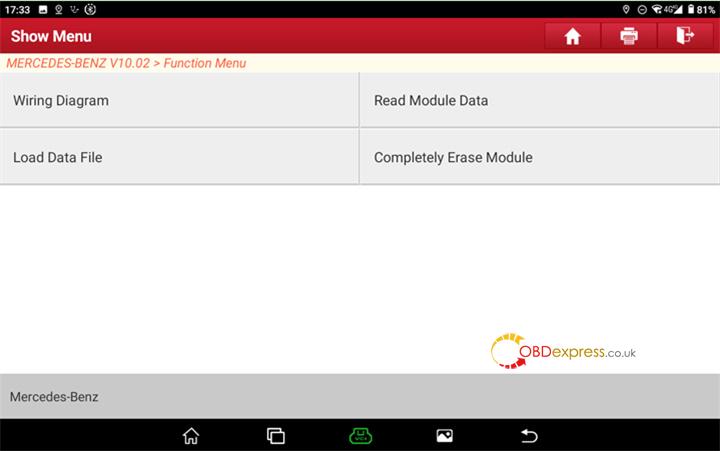
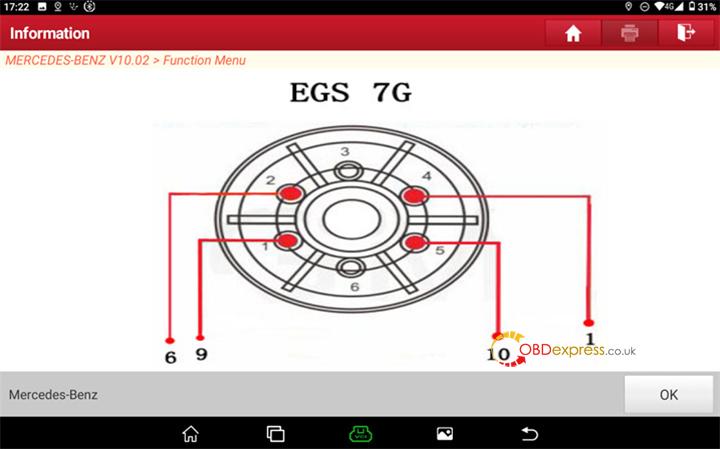
Click on the “Wiring Diagram” button displayed on the tablet screen. LAUNCH X431 PRO5 features integrated, high-definition pinout schematics specifically for the VGS3 NAG2 hardware configuration.
Step 5: Connect TCU on Bench
Carefully remove the physical VGS3 module if it isn’t already out, and hook up the power, ground, and CAN lines on your bench harness precisely as shown in the Launch built-in wiring diagram. Once your connections are checked and secure, click “OK”.
Step 6: Initiate Module Erasure
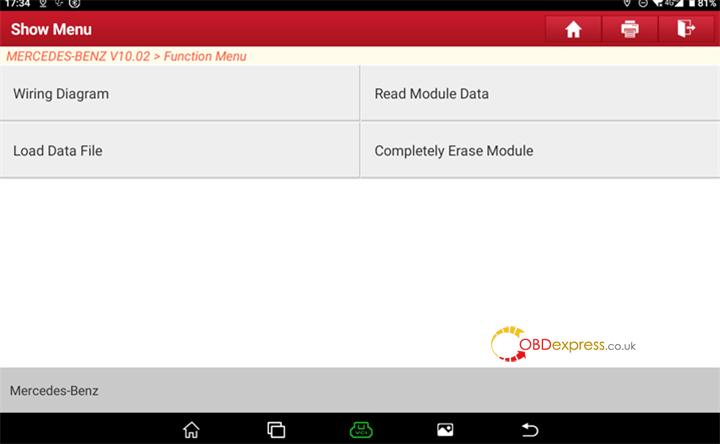
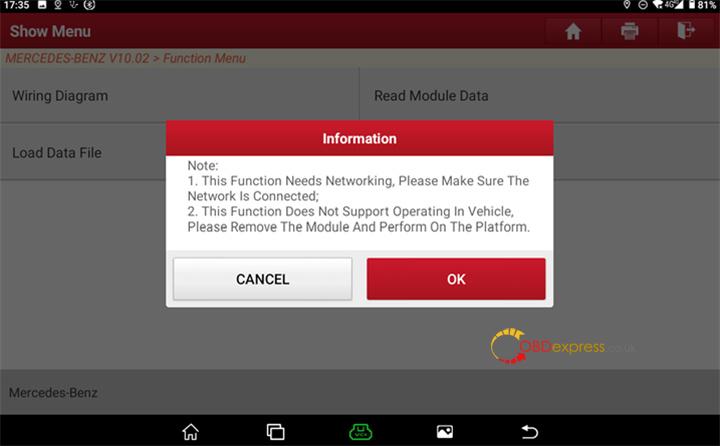
With the bench connections alive, click on the function titled “Completely Erase Module”.
Step 7: Confirm Operation
Review the on-screen warnings regarding module safety and click “OK” to move forward.
Step 8: Read Current TCU Security Status
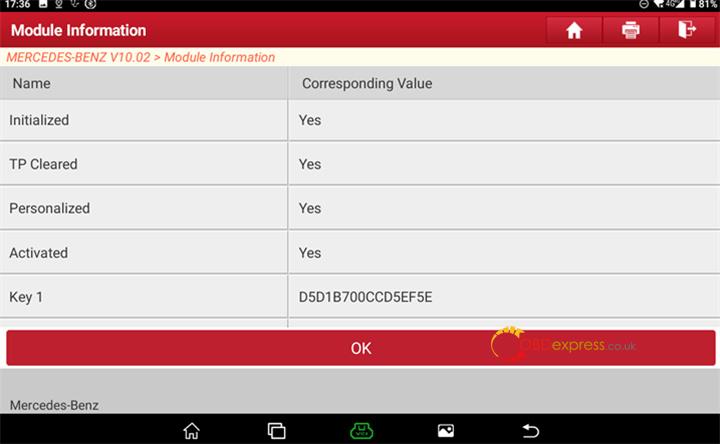
X-431 PRO5 tablet will automatically communicate with the transmission controller and read its current state. The screen will display the pre-erasure TCU status (showing that it is currently “Personalized” and “Activated”). Click “OK” to authorize the clearing command.
Step 9: Choose Data Backup Preferences
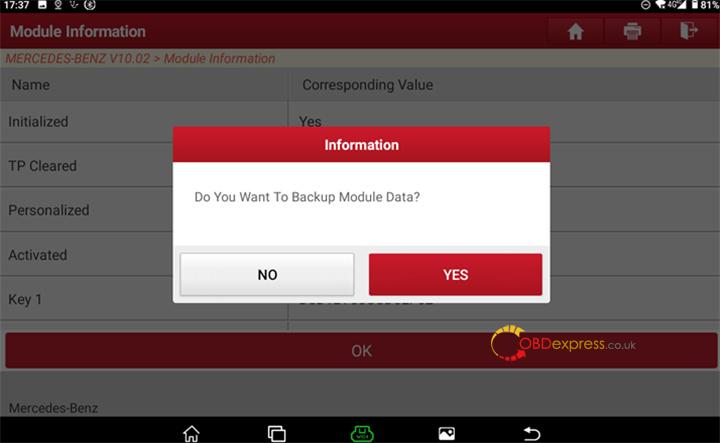
The system will ask if you want to backup the current coding and data from the module. Select No if you are wiping a junk/donor module to completely refresh it from scratch, or select “Yes” if you intend to clone it later.
Step 10: Final Authorization
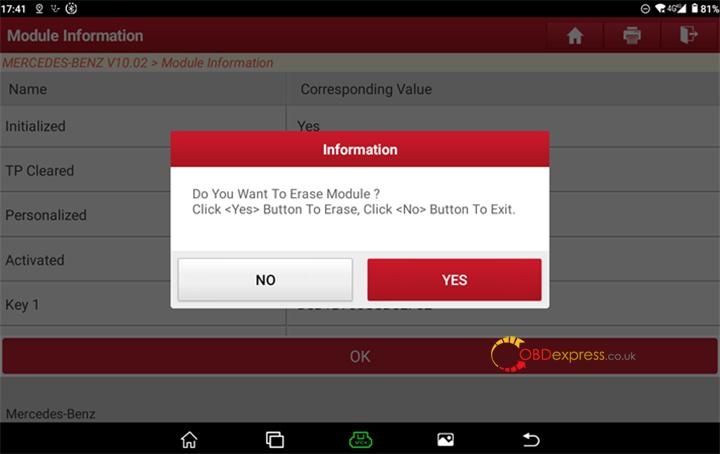
The software will prompt a final verification message. Click “YES” to begin sending the security bypass and unlock commands.
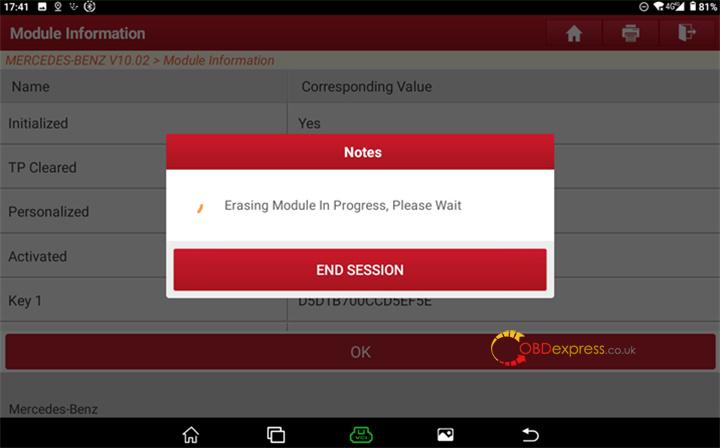
Step 11: Erasing in Progress
X431 PRO5 will communicate with the server and calculate the hash commands to reset the VGS3 EEPROM. Do not disconnect the power supply or interrupt the cable during this step.
Step 12: Success Notification & Status Verification
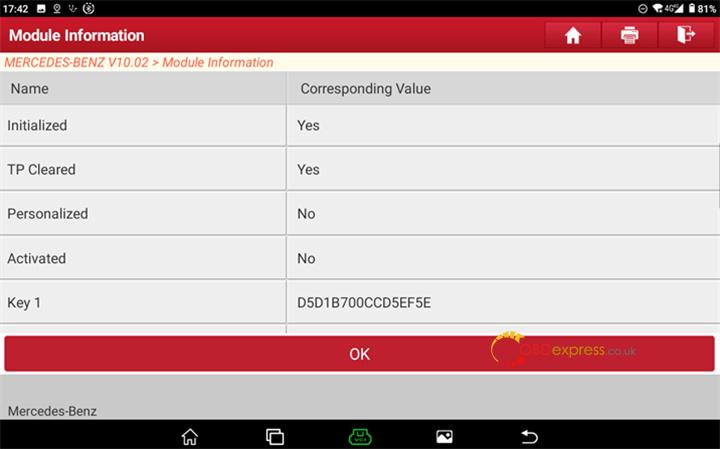
Once finished, the screen will read “The module is successfully erased.” The software will display the live data parameters of the refreshed TCU. You should notice that the fields for Personalized, Activated, and Locked have now turned to No.
Click “OK” to exit. The VGS3 NAG2 TCU is now blanked, renewed, and ready for installation and adaptation on any compatible Mercedes-Benz vehicle.