


With your OBDSTAR ECU Master software successfully downloaded, registered, and updated, you are ready to unlock powerful capabilities for reading, writing, cloning, and decrypting ECMs, TCMs, and BCMs. This highly versatile hardware supports an extensive vehicle ecosystem, including passenger cars, EVs, motorcycles, commercial heavy-duty trucks, and agricultural machinery.
Follow this verified, step-by-step workflow to optimize your cloning procedures.
- Hardware Startup & Booting
Connect ECU Master to a stable DC power source.
Verify that the power indicator light illuminates.
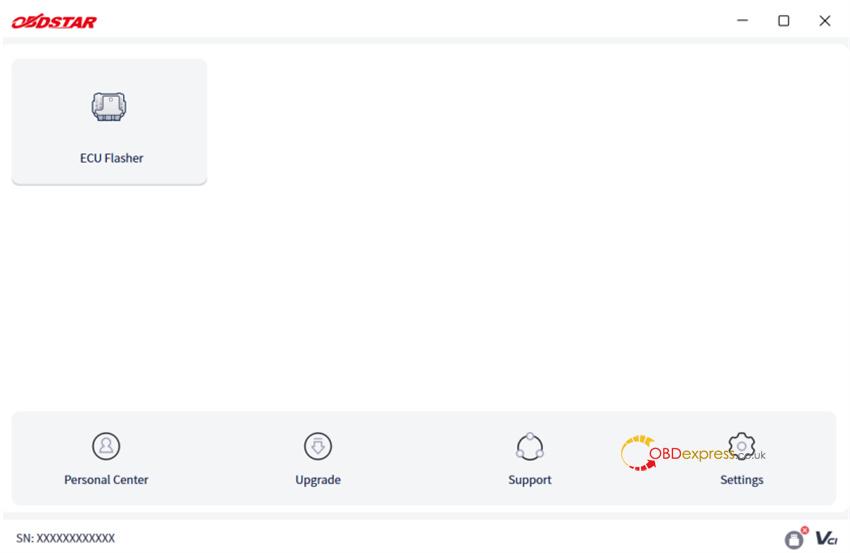
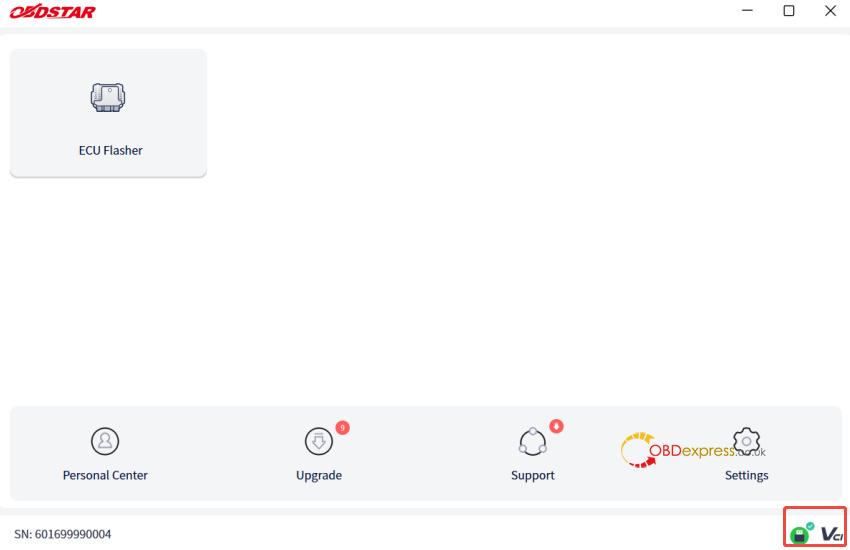
Launch the software on your PC, read through the Disclaimer, and click [Accept] to enter the main menu (Clicking [Refuse] will exit the application).
- Establishing the Software Link
Connect OBDSTAR ECU Master to your PC using the provided USB cable.
The software will automatically verify the communication pipeline.
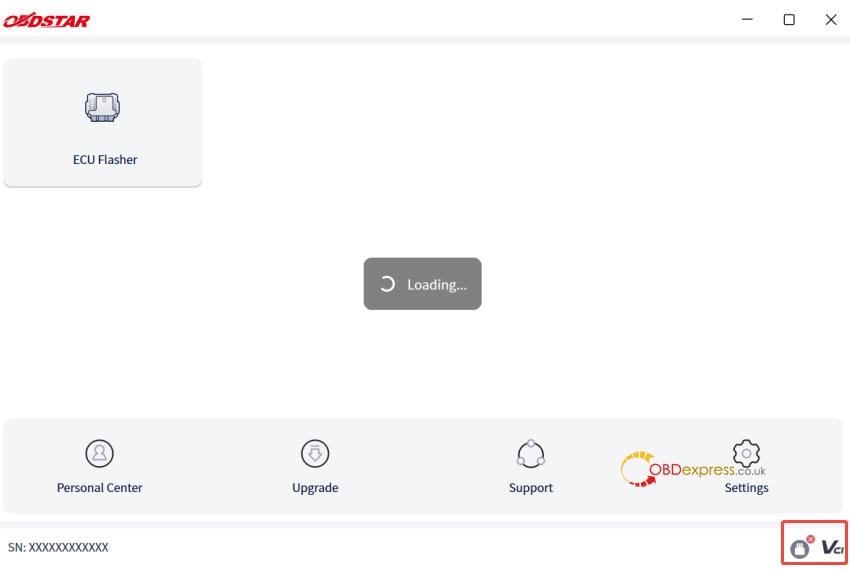
Once the link is established, your device’s Serial Number (SN) will display on-screen, and the connection status icon will update to green/active.
- Downloading the Operation Manual
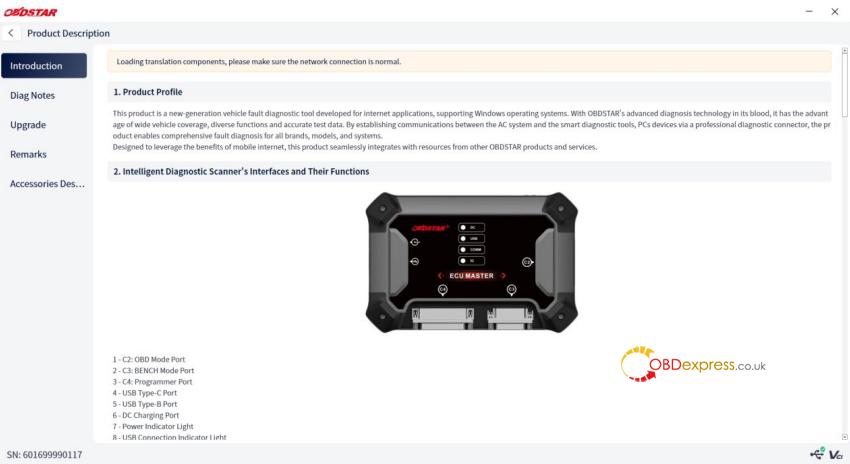
Navigate to Support ➔ [Product Description].
If this is your first time using the device, download the official operational manual to ensure you have offline documentation.
- Step-by-Step Diagnostic & Cloning Process
Access the Core Module: Select [ECU Flasher] from the main menu and accept the module disclaimer.
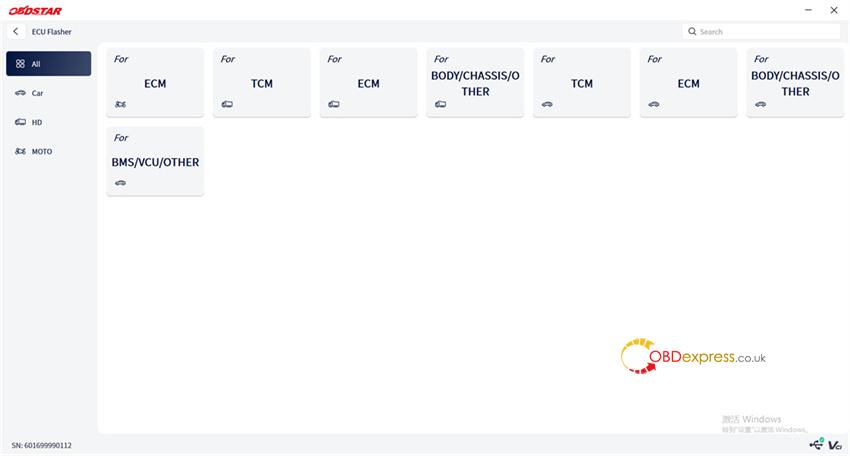
Filter by Vehicle Category: Narrow down your system target by filtering by All, Car, HD (Heavy Duty), or MOTO. This organizes the list into ECM, TCM, Body modules, etc. (For example: TCM V29.00)
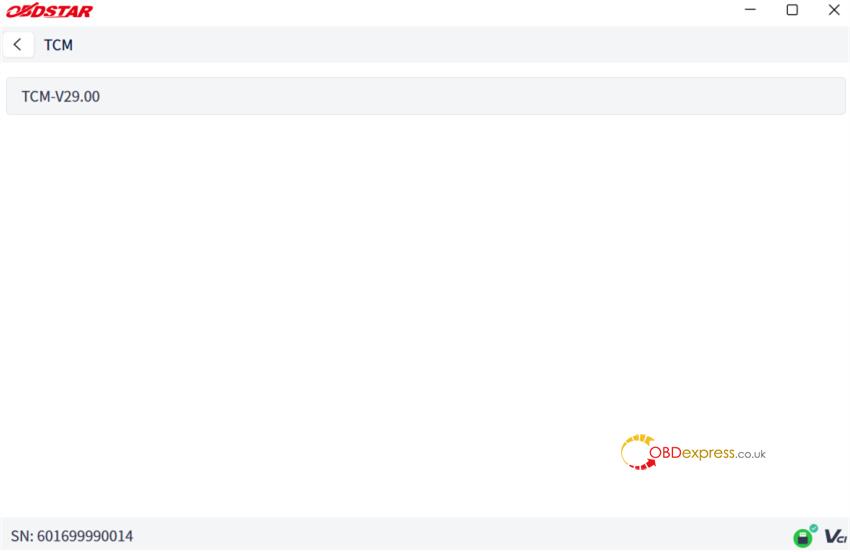
Select the Target System: Enter the main interface to view the comprehensive list of supported models.
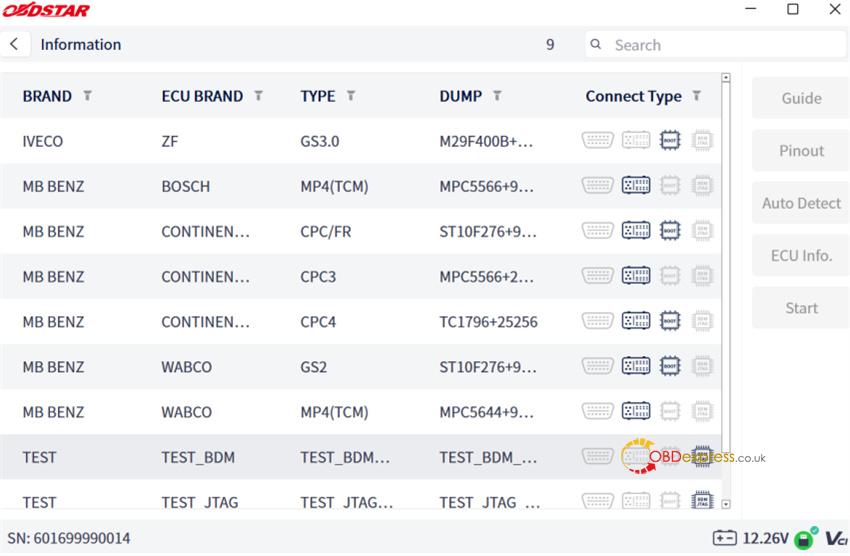
Locate Your ECU (Search & Filter Options):
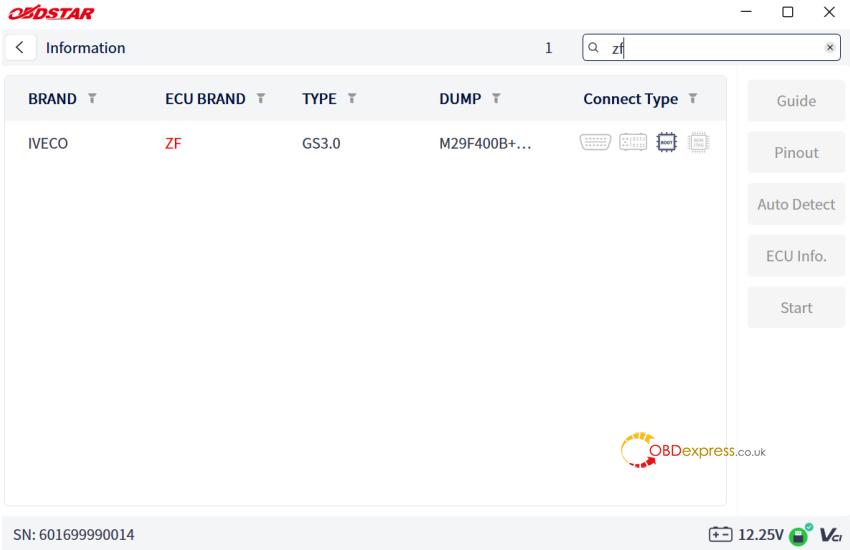
Keyword Search: Type your target system into the [Search] box (e.g., typing “zf” will highlight matches in red; click “X” to clear the query).
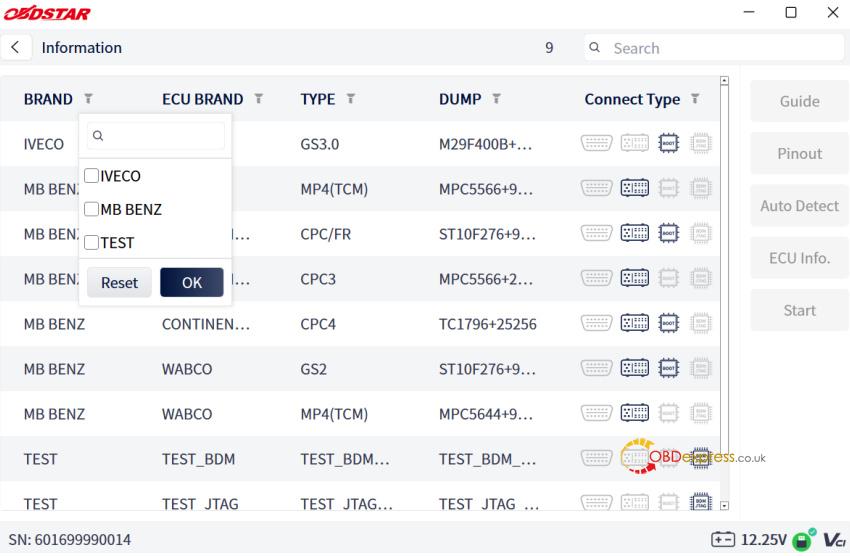
Brand Filter: Click the arrow dropdown next to Brand -> Select the manufacturer (e.g., MB BENZ) -> Click [OK].
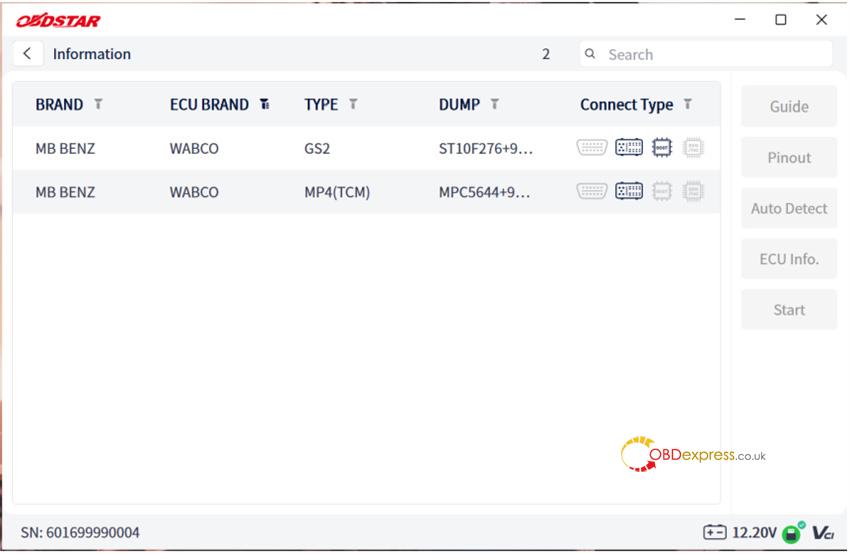
Access Wiring Diagrams & Documentation:
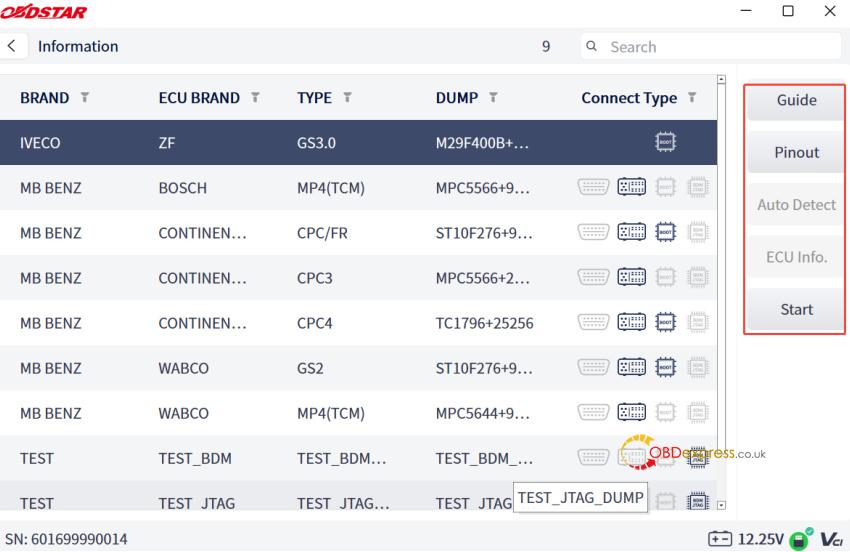
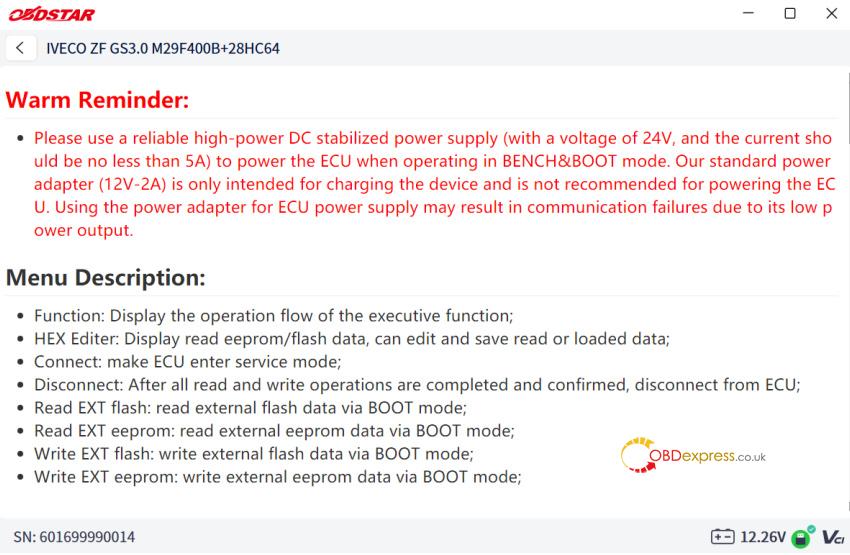
Click [Guide] to read step-by-step operational instructions.
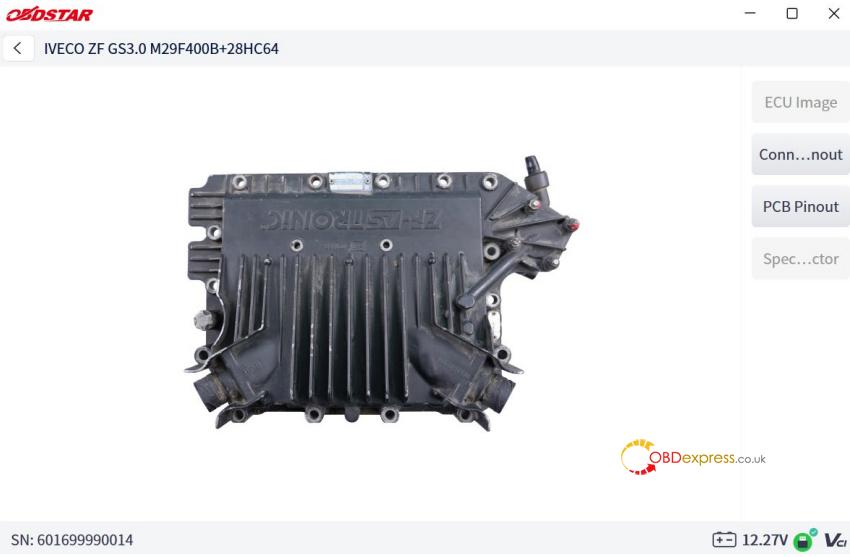
Click [Pinout] to open high-definition wiring diagrams and physical connection photos.
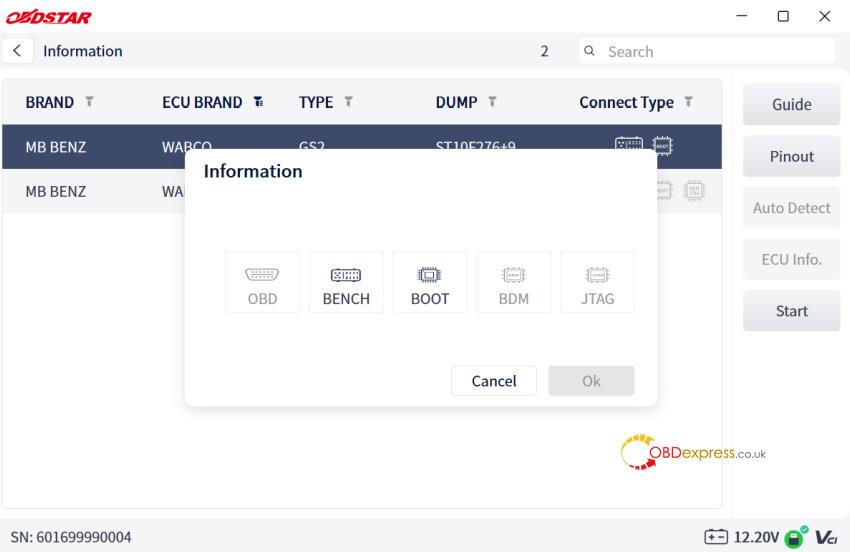
Execution: Click [Start] -> Choose your preferred connection mode -> Click [OK] -> Click [Connect] to initialize the module. You can now perform complete data reading and writing operations.
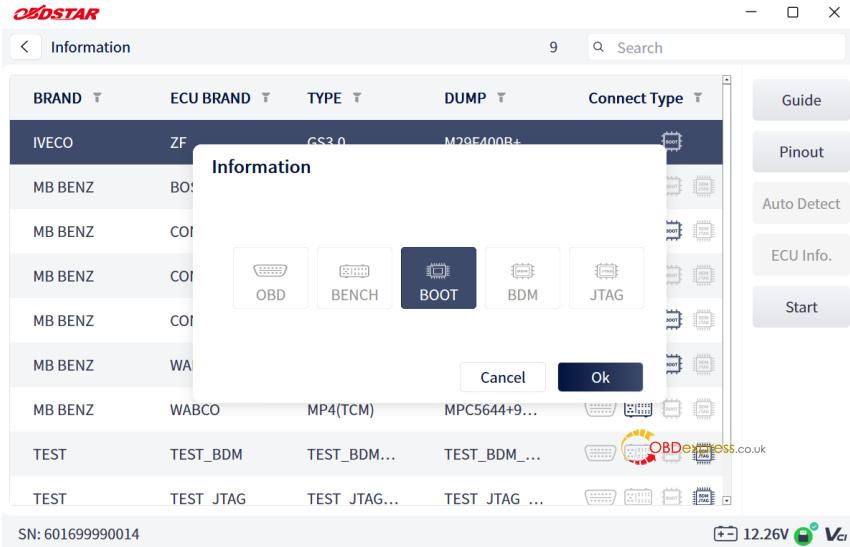
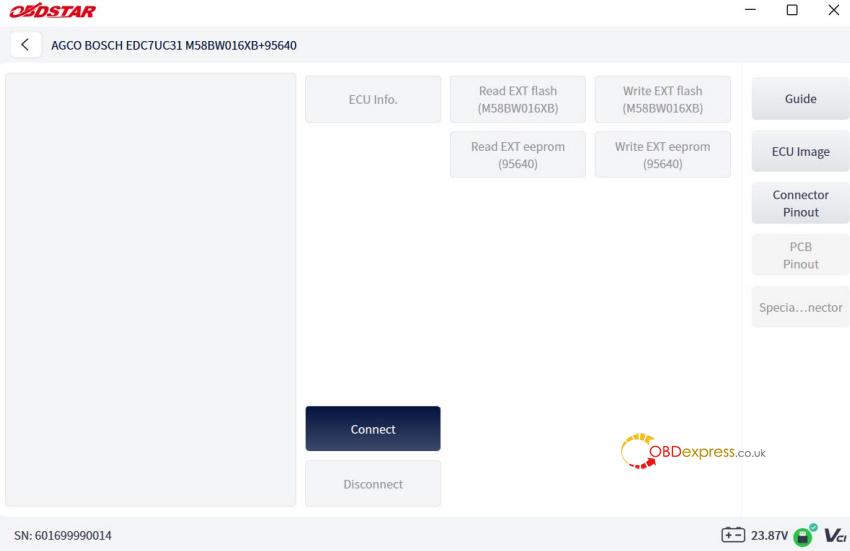
Session Close: Once the reading/writing process is finished with OBDSTAR ECU Master ECU TCU Programmer, click [Disconnect] to safely terminate communication.
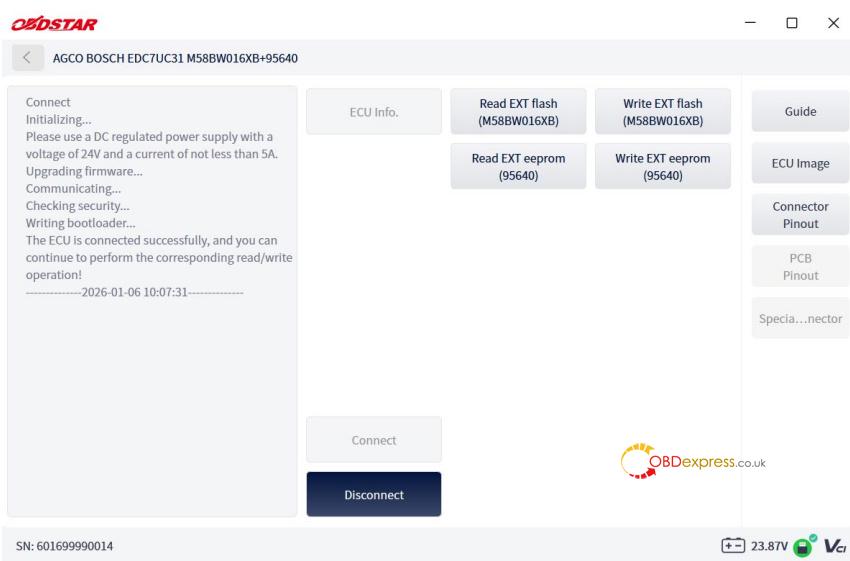
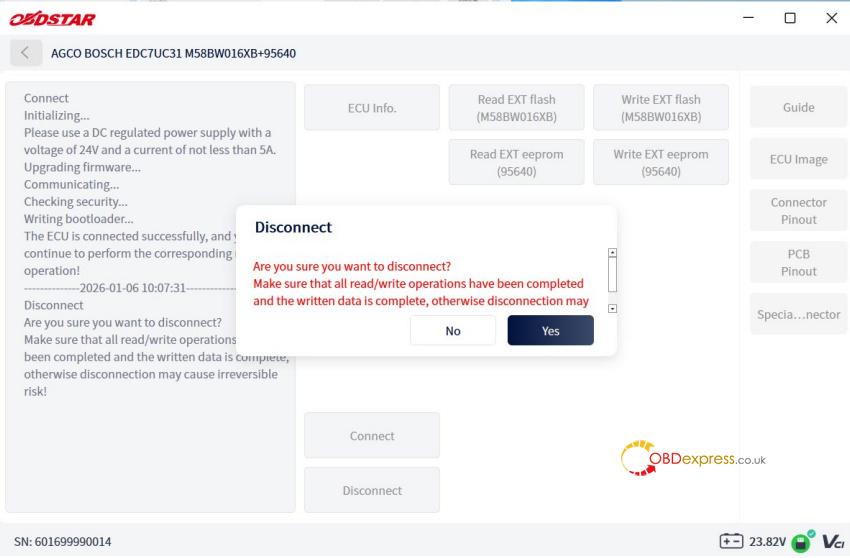
- Safe Shutdown Protocol & Power Off
CRITICAL WARNING:
A communication failure or accidental cable disconnection during the flashing process can permanently damage (brick) the ECU. Ensure the main test cable is securely fastened throughout the entire procedure. Always click [Disconnect] to stop software tracking BEFORE disconnecting any physical hardware.
Power Off: Once the software session is safely terminated, unplug the main DC power supply cable.
Read also:
How to Register, Update and Change Password for OBDSTAR ECU Master?
