


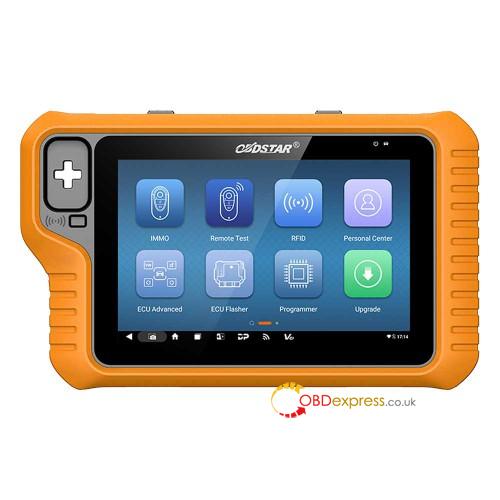
OBDSTAR X300 Classic G3 (Key Master G3) has the diagnostic program that can establish a data connection with the vehicle ECU through the diagnostic main line, and can read ECU information, view fault codes, check data flow parameters, and perform actuation tests. Diagnostic applications can access multiple ECUs (Electronic Control Units) for vehicle control systems such as engine, transmission, anti-lock braking system (ABS), etc.
How to establish vehicle communication with X300 Classic G3?
1)Connect the diagnostic main cable (M001) to the vehicle’s diagnostic socket for power supply and communication.
*Some functions may require additional adapters or accessories. Please refer to the software operating instructions for detailed procedures.
2) Ready to diagnose and service the vehicle.
How to connect X300 Classic G3 Key Programmer and vehicle?
Depending on the different vehicle configurations, the methods for connecting the intelligent diagnostic equipment and the vehicle diagnostic socket are divided into the following two types:
- Vehicles compatible with OBD II management system communicate and are poweredwith12V through a standard SAE J1962 diagnostic socket.
- Vehicles that are not compatible with OBD II management system communicate through a non-standard diagnostic socket and, in some cases, are powered with 12V from a power adapter of smart scanner or the vehicle battery.
1.Connecting to OBD II Vehicle
Connecting to an OBD II vehicle only requires the use of the test main cable, no other connectors are required.
Connection method:
1)Connect the male connector of the main diagnostic cable to the smart scanner and tighten the captive screw.
2)Attach the 16-pin connector of the main test cable to the vehicle diagnostic socket, and for the location of the socket, you can refer to the help data in the diagnostic software.
2.Connecting to Non-OBD II Vehicle
Connecting to a non-OBD II vehicle, you’ll need to use a combination of the test mainline and a vehicle-specific adapter. There are two possible connection scenarios for non-OBD II vehicles:
1)The diagnostic interface provides both communication and power.
2)The diagnostic interface can only communicate and requires connection to the power adapter of the intelligent diagnostic scanner or the vehicle battery to obtain power (preferred).
Connection method:
1)Attach the male connector of the main diagnostic cable to the smart scanner, and secure it by tightening the captive screw.
2)Find the vehicle-specific diagnostic connector and link its 16-pin female connector to the male connector of the main test cable.
3)Connect the combined dedicated diagnostic connector to the vehicle’s diagnostic socket.
How to solve X300 Classic G3 communicate failure?
If the OBDSTAR intelligent diagnostic tool fails to establish normal communication, the screen will display a prompt message indicating a communication failure, along with corresponding instructions in the relevant section. Possible reasons for this issue include:
1) The ignition is not turned on.
2) The main line is not well connected.
3) Faulty vehicle, data cable, or connector wiring.
4) The battery is exhausted.
5) The vehicle is not equipped with the selected system.
Follow the above reasons to perform the related operations.
How to diagnose vehicle with OBDSTAR X300 Classic G3 Key Programmer?
Main steps:
Connect the diagnostic scanner to the vehicle via the test main line >> Register (see Personal
Center section for details)>> Log in (see Personal Center section for details)>> Download/Upgrade diagnostic software >> Select functions and models>> Execute the diagnosis >> Complete diagnostics and exit.
Kindly notice:
Before exiting or closing the diagnostic application program, it’s essential to exit the diagnostic operation interface and terminate all communication between the OBDSTAR G3 Key Programmer and the vehicle.
Interrupting communication can potentially damage the vehicle’s ECU. Therefore, ensure that the test main cable remains well connected to both the smart device and the vehicle throughout the diagnostic communication process.
Additionally, make sure to exit all diagnostic communication before disconnecting the diagnosis main line or turning off the device.
Learn more:
- OBDSTAR X300 Classic G3 Register, Update and Transfer Files Guide
OBDSTAR X300 Classic G3 Register, Update and Transfer Files Guide
- How to Set Up OBDSTAR X300 Classic G3? (Screen Lock/Language/Factory Restore)
How to Set Up OBDSTAR X300 Classic G3? (Screen Lock/Language/Factory Restore)
