


In our previous article, we outlined the features of OBDSTAR X300 Classic G3 and highlighted its distinctions from the X300 DP Plus (click here to review). Today, we are excited to provide you with a comprehensive guide on registering, updating, and transferring ES File.
PART ONE
How to register X300 Classic G3?
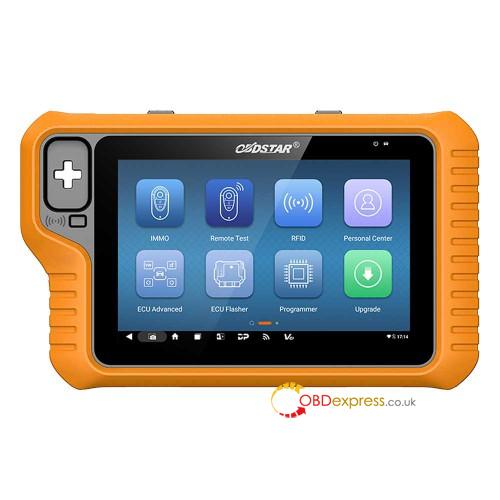
Go to [Personal Center] in the DP menu where is used for checking personal account information, token information, etc.
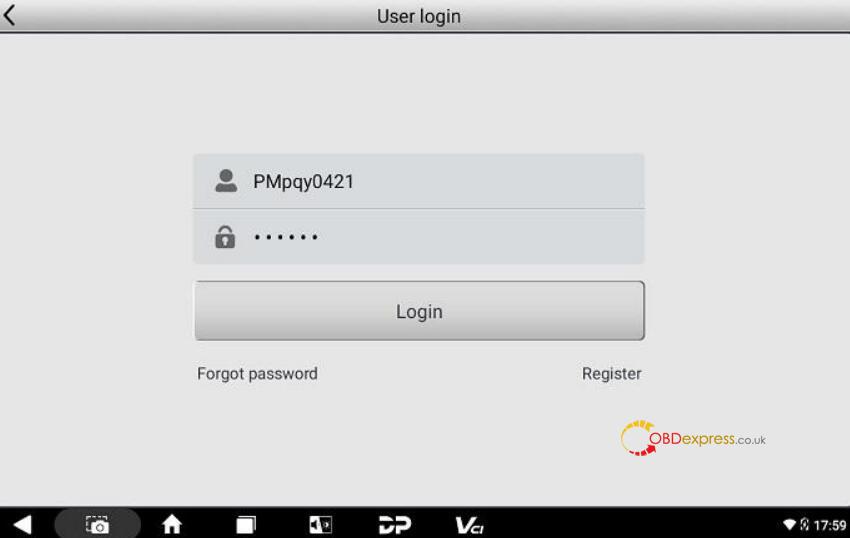
The login interface will be shown below.
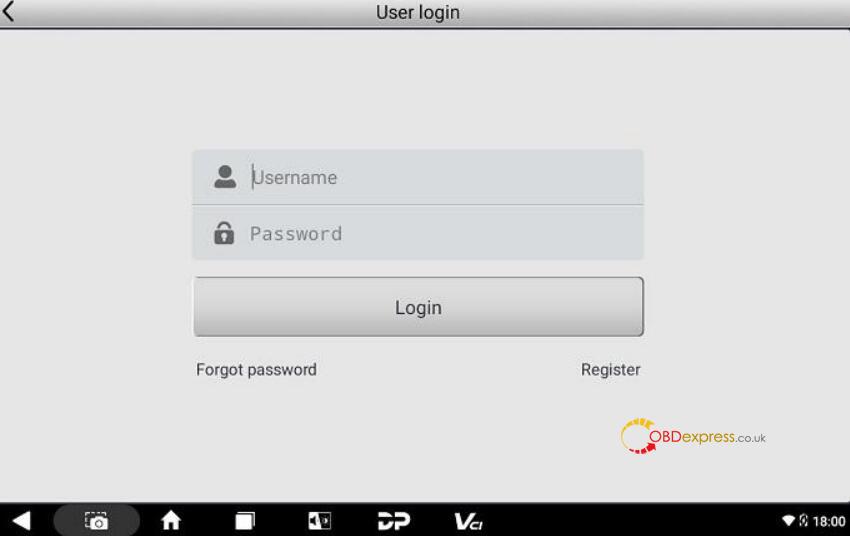
- If you are a new user, select the [Register] button in the lower right corner and proceed to the user registration interface.
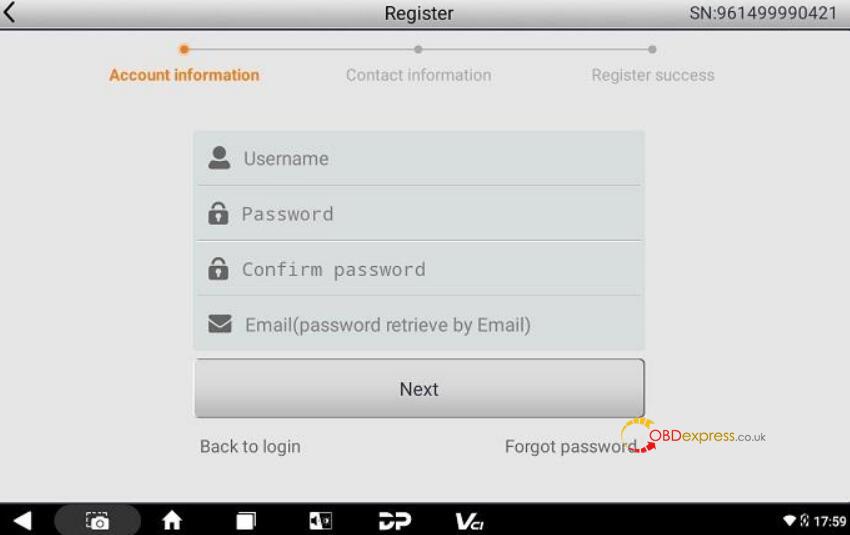
Fill in the account information (user name+ password+ email address), and contact information (contacts+ cellphone+ company name+ address+ post code)
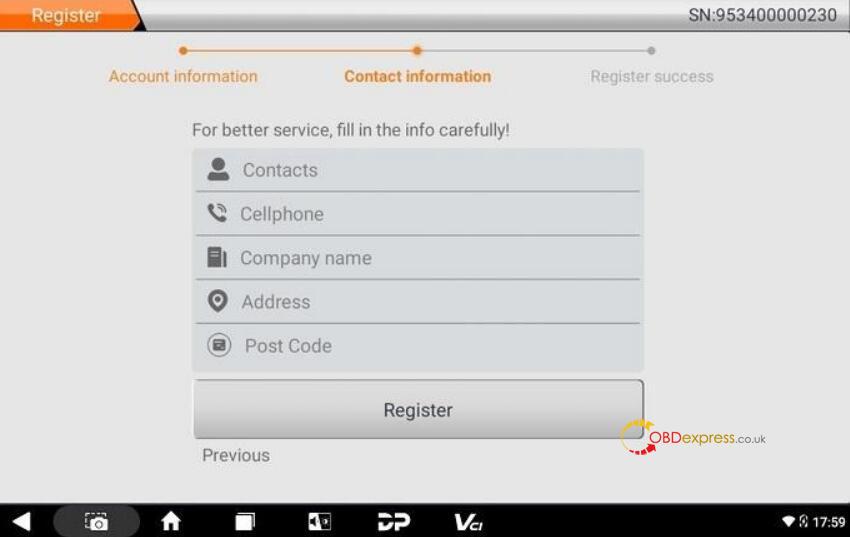
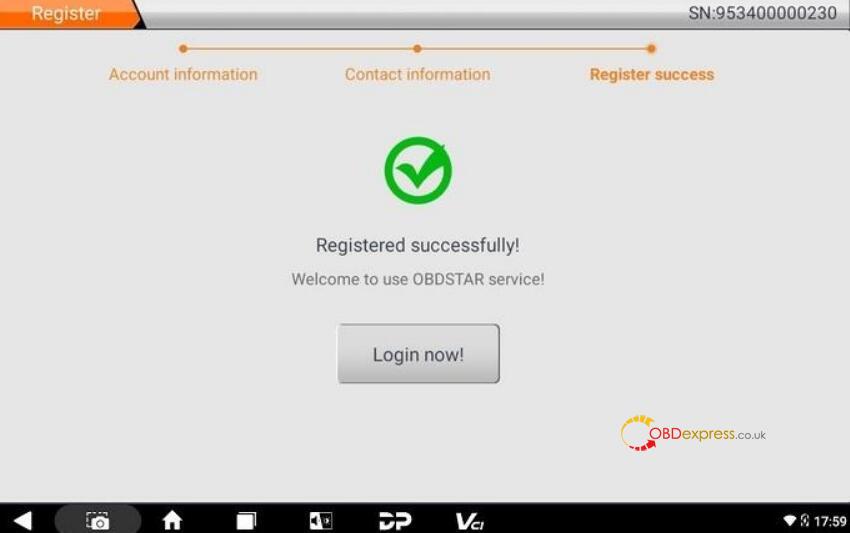
It will prompt you “Registered successfully!” once you complete the above operation required.
Tap [Login now!]
- If you have already registered as a member, directly fill in your account number and password, and then tap [Login].
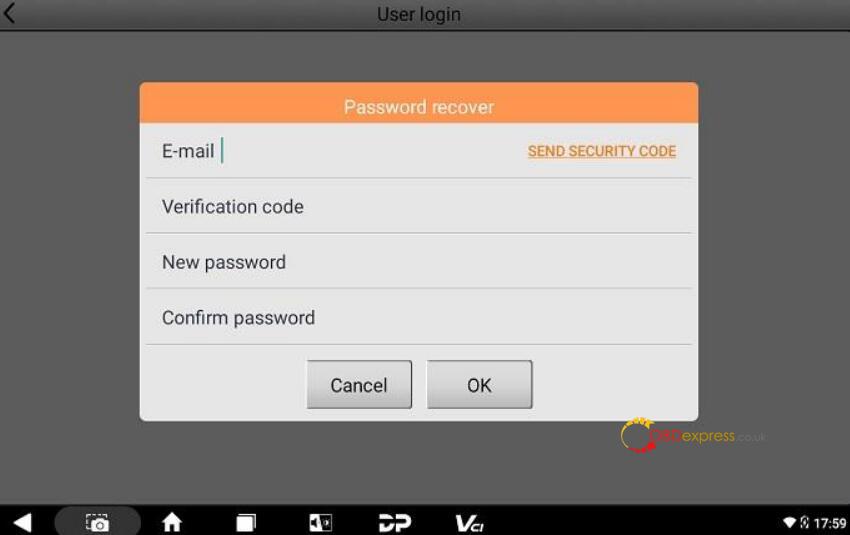
- If you forget your password, please select [Forgot password] and fill in the necessary information in the Password Recover popup window, then you will be able to log in with your new password.
PART TWO
How to update X300 Classic G3?
In this [Upgrade] function, users have the ability to download the basic data for diagnosis, vehicle diagnostic software, data packages, and more.
1.Login your account and select [Upgrade] function
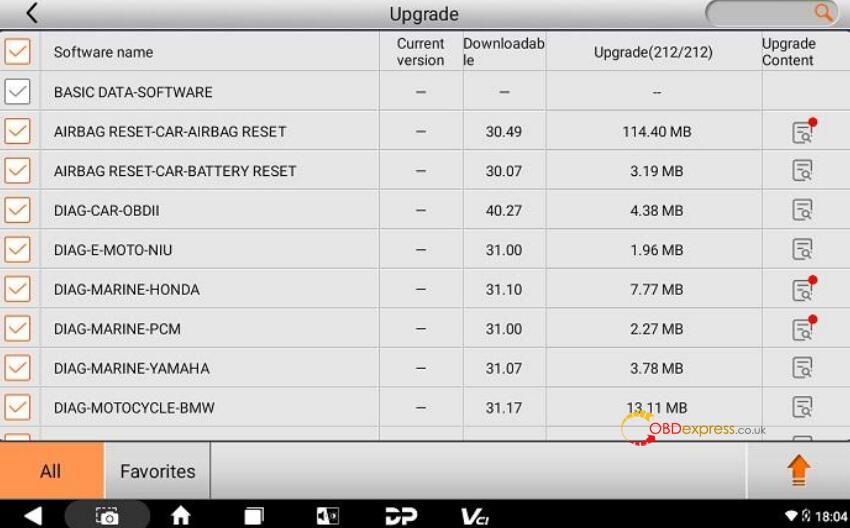
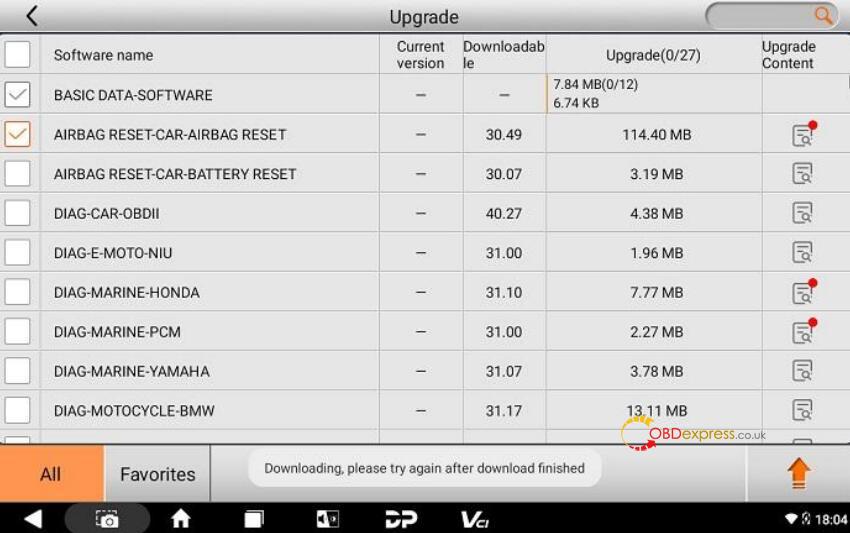
After opening the upgrade main page, you can see all upgradable software. All items are checked to upgrade by default.
- To cancel any software, simply tap the orange check box next to the corresponding software. Gray check boxes marked with a tick indicate software that must be upgraded and cannot be canceled.
- If you wish to upgrade all or specific software from your Favorites (a collection of frequently used software you’ve added to Favorites), navigate to the lower left corner and tap the [Favorites] button. Then, select and check the relevant software. Once you’ve made your selection, tap the upgrade button in the lower right corner to initiate the process.
- Additionally, to quickly locate your desired software within the lengthy upgrade list, utilize the search box located in the upper right corner. Simply enter keywords or letters to search for your target software efficiently.
2) The final column displayed on the main page of the Upgrade section is dedicated to showcasing the upgrade content. Simply tap the icon button corresponding to the relevant software to explore the latest additions and improvements included in the current software version. (Refer to the example below for clarification).

3) If you tap the upgrade button in the lower right corner again during the progress of the upgrade, the lower part of the screen will prompt “Downloading. Please try again after download finished.” And the upgraded software will display a green dot indicating completed downloads.
PART THREE
How to transfer files with OBDSTAR X300 Classic G3?
X300 Classic G3 key programmer has [ES File Explorer] application that you can manage the on-device files and send files to a computer via a U drive.
1) Insert the USB flash drive into the USB port of the G3 scanner.
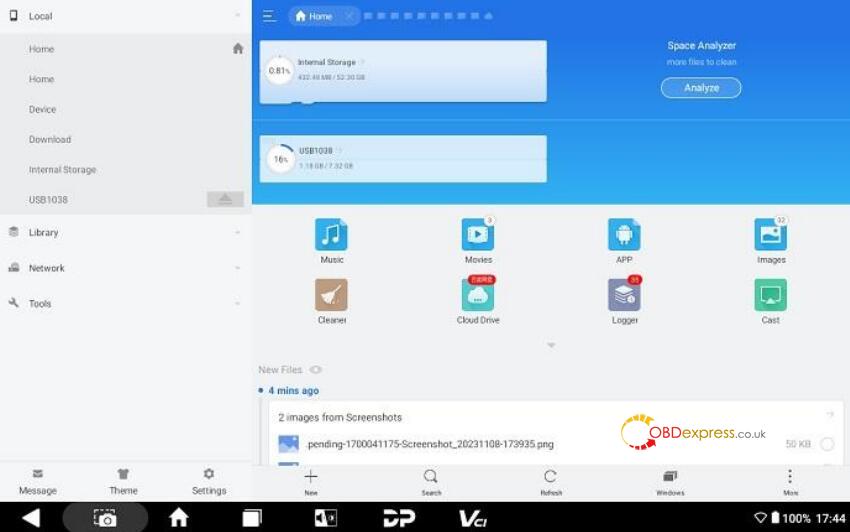
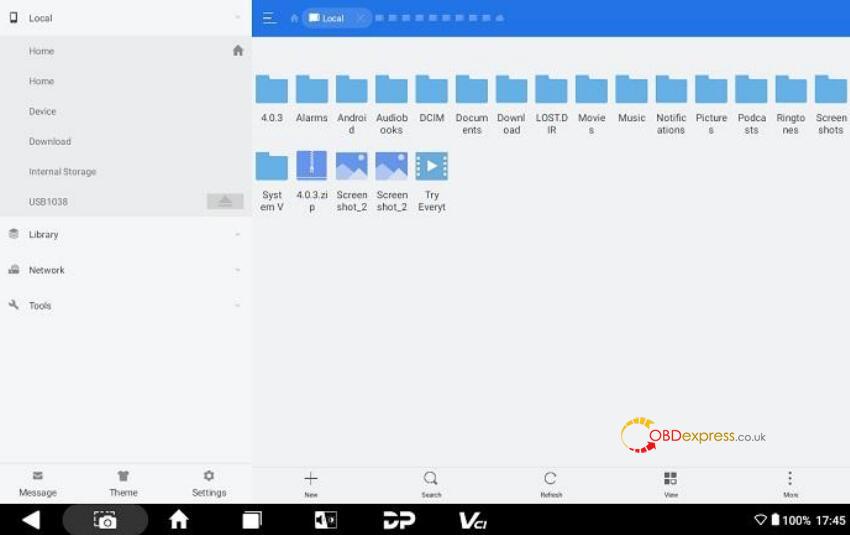
2) Expand the hidden menu at the bottom of the desktop, and select [ES File Explorer] to open it. In the left side menu, select [Local] > [Home]. The block under the Internal Storage block is for the USB storage. See below:
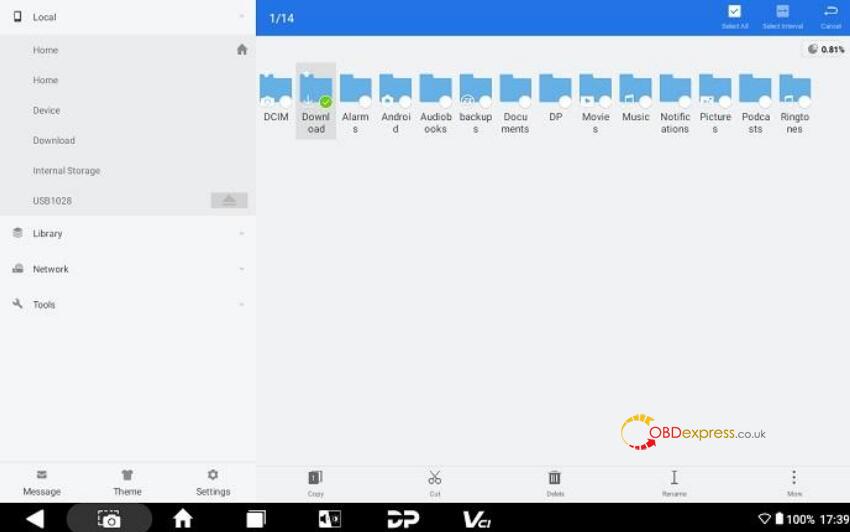
3) Open [Internal Storage], select any folder (or open the folder to select files) and hold. A blank circle will appear under each file, and function buttons such as copy, cut, delete, and rename will appear on the bottom right. Select the folder (or file) you would like to transfer, the circle under the selected folder will be marked with a tick and turn green, then tap [Copy].
4) Return the Home tab, and select the storage for the USB you’ve inserted.
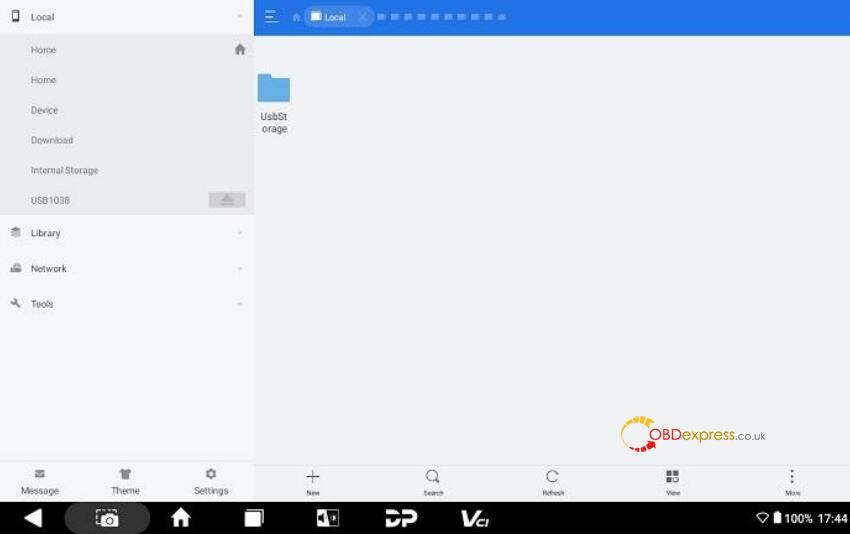
5) Open the [USB Storage] folder and all folders in your USB drive will be displayed. Paste the copied folder (or file) to the desired location.
6) After everything is done, just pull out the USB flash drive.
For more instructions about OBDSTAR X300 Classic G3 Key Programmer, please download OBDSTAR X300 G3 User Manual
