



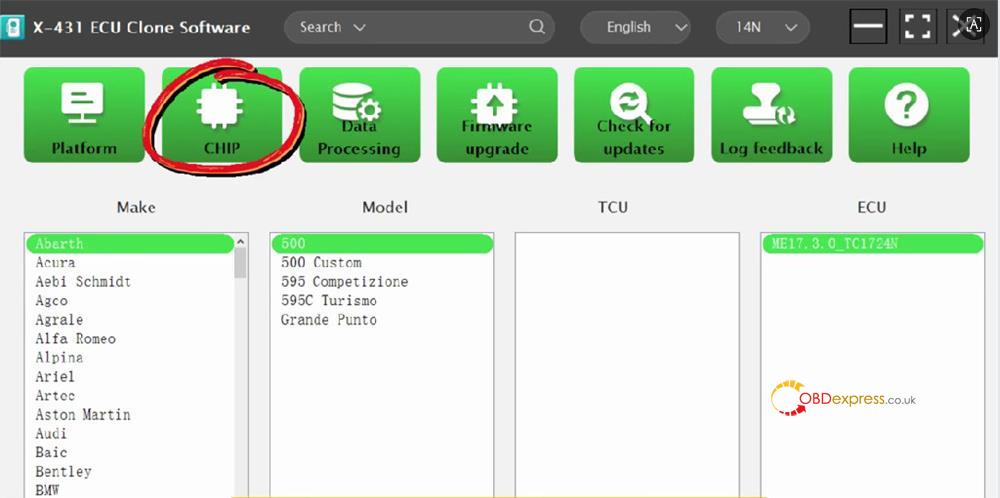
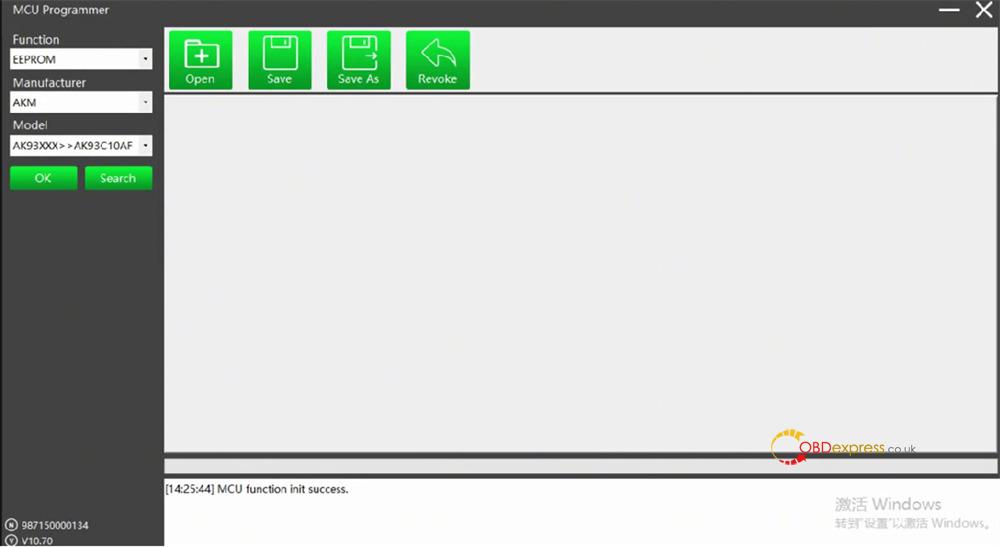
Launch X431 X-PROG5 doubles as a powerful ECU cloning PC tool. By utilizing its dedicated X-431 ECU Clone PC software, you can perform seamless ECU and TCM /TCU reading, writing, and cloning directly from your computer. With the new CHIP function in V10.70, you can perform chip reading and writing. If your laptop runs Windows 8 or Windows 10 (64-bit), follow this step-by-step guide to download, install, and activate your software.
Step 1: XPROG5 PC Software Download
To begin, you will want to head over to Launch’s official website at [https://en.cnlaunch.com/]. Once the home page loads, find the menu bar and click on Service, then select Download & Upgrade.
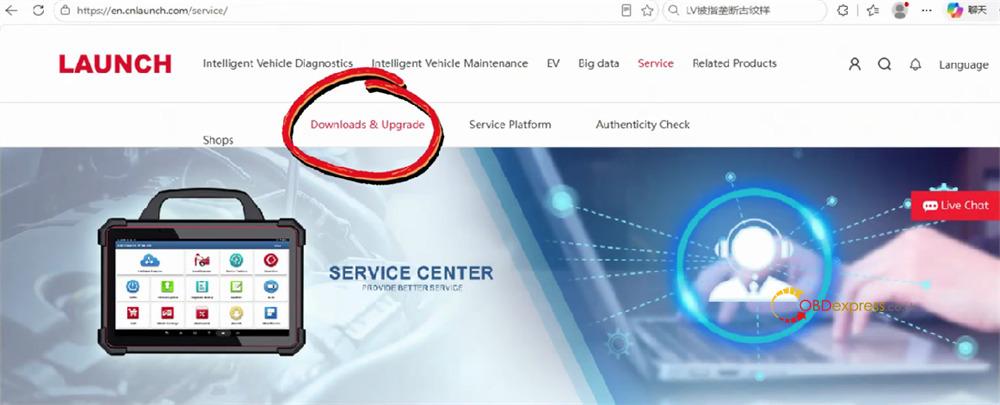
This will bring you to the application download section. Locate the software labeled X-431 ECU Clone and click on Download.
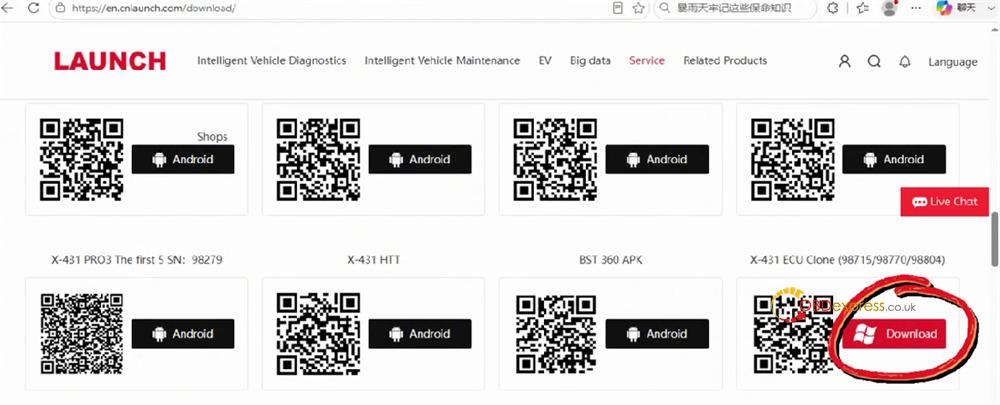
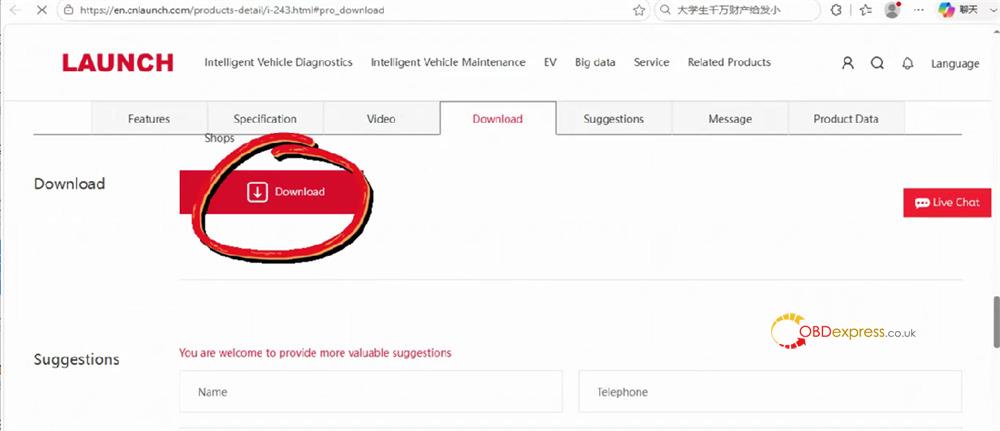
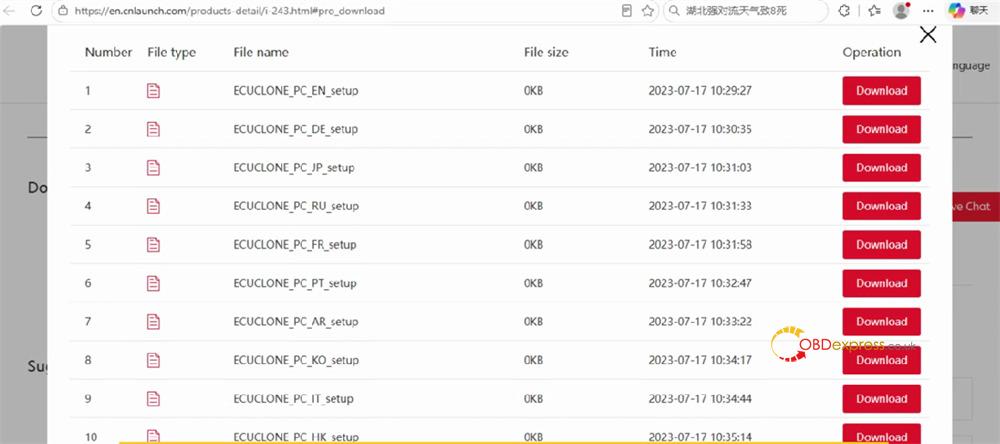
From there, click Download one more time, making sure to select the language version that corresponds to your region (e.g. ECUCLONE_PC_EN_setup), click Download to complete the process.
Step 2: Software Installation
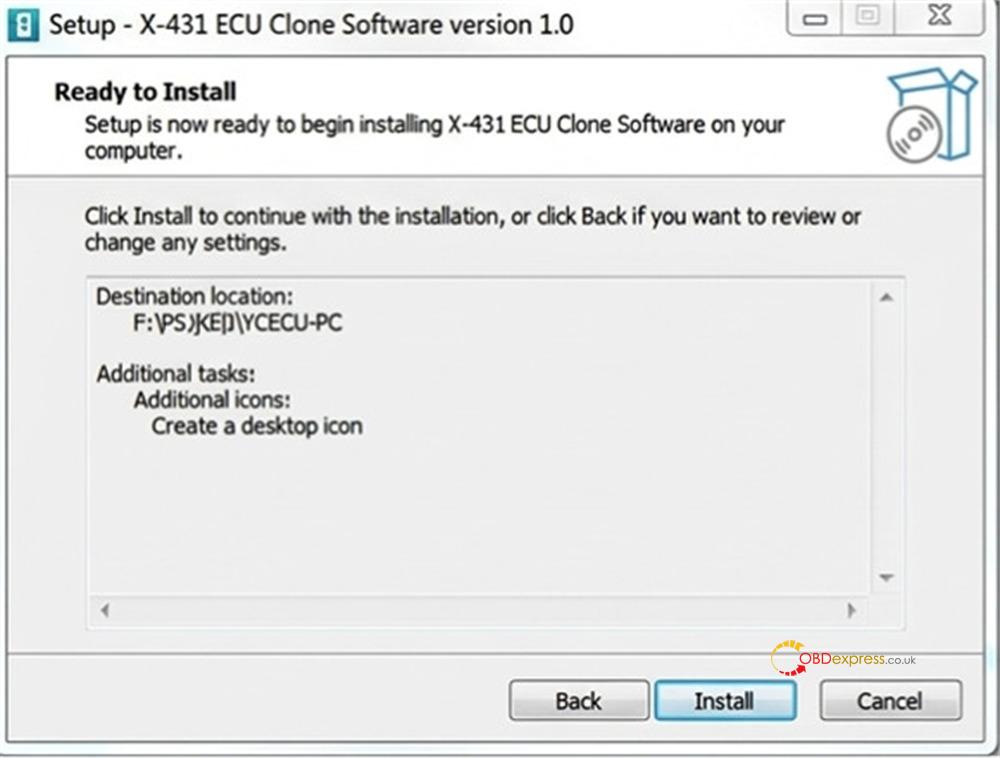
With the setup file downloaded to your PC, double-click to run it. The installation wizard is highly intuitive—simply follow the step-by-step instructions displayed on your screen to complete the setup.
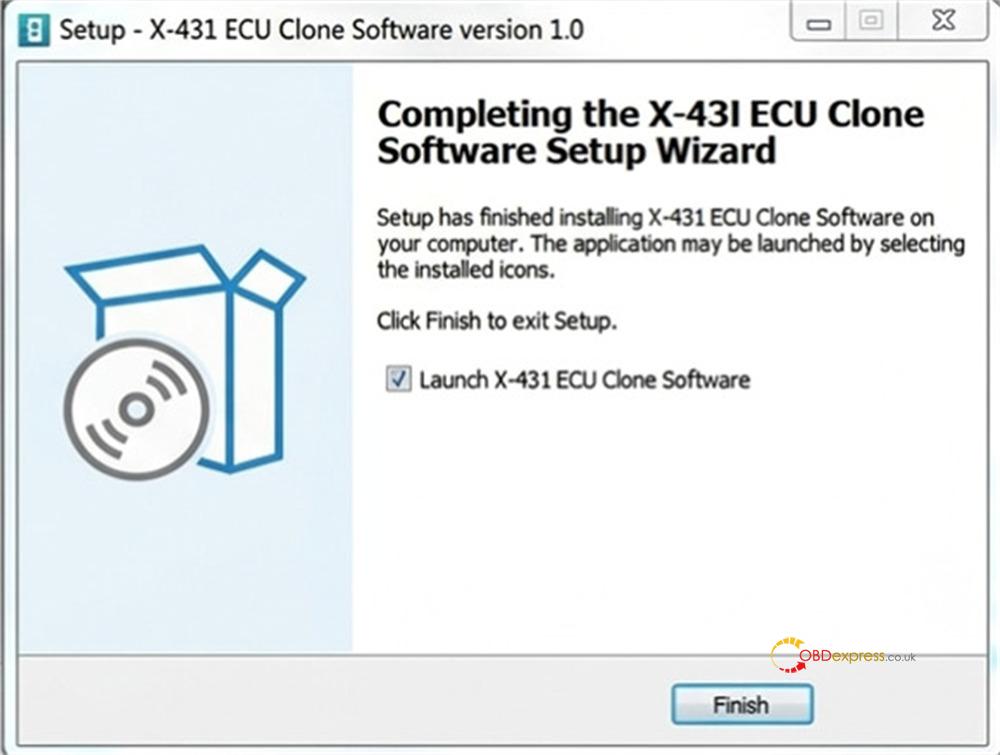
Step 3: Hardware Connection
Now, let’s establish a connection. Grab your G5 programmer and plug it directly into your computer. Next, open the freshly installed software. The system should automatically detect the hardware and display a “Successfully connected” prompt.
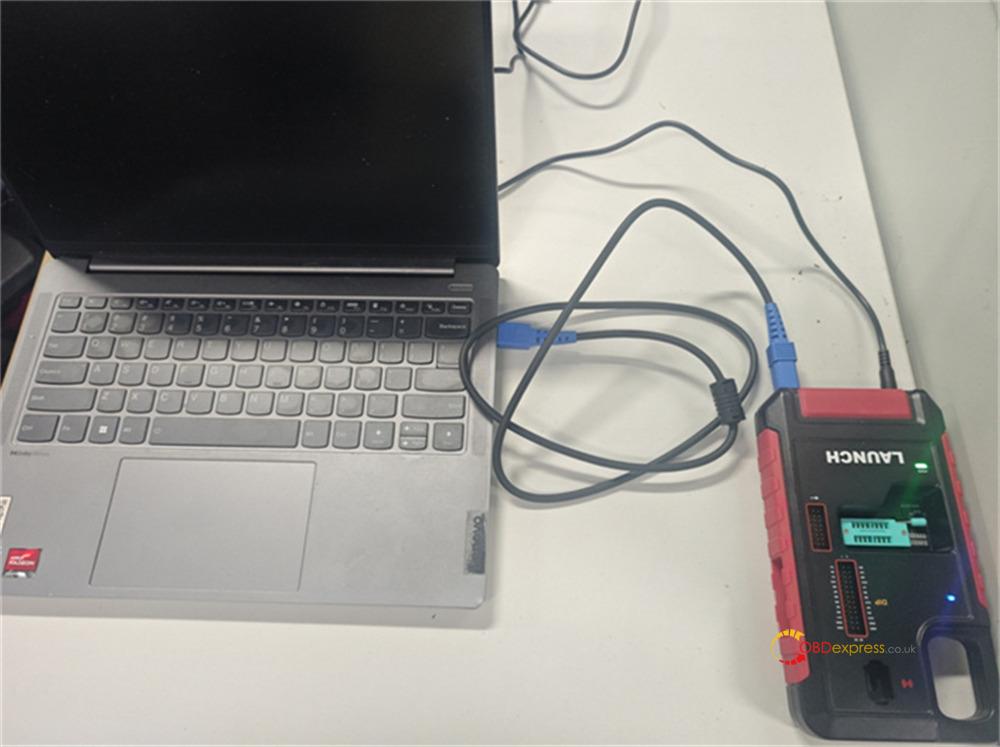
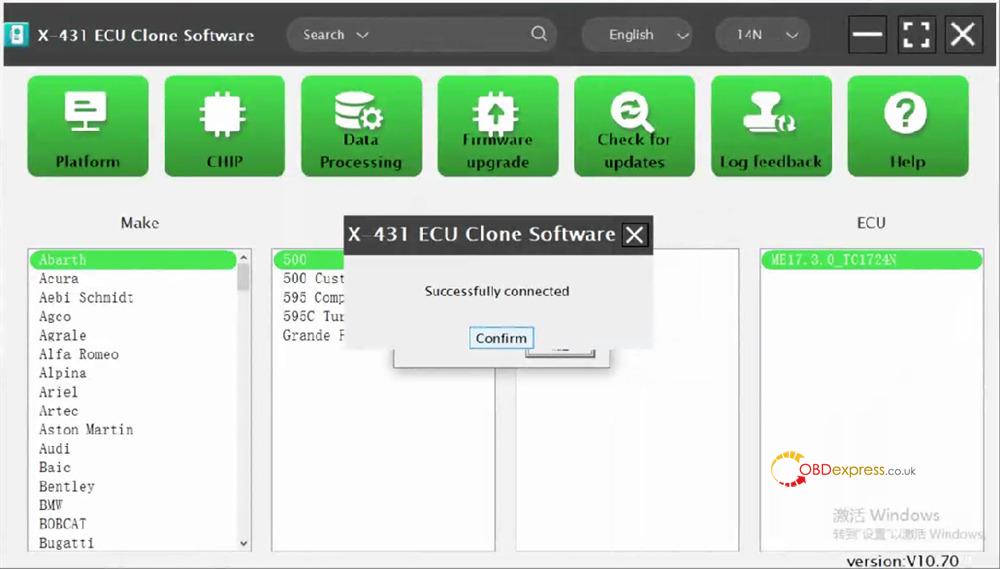
Step 4: Device Registration & System Activation
Important Note: Always make sure your files have the correct checksums. Keep in mind that XPROG5‘s ability to read and write files is highly dependent on your target ECU or TCU model.
To begin registration, click Confirm on the startup screen.
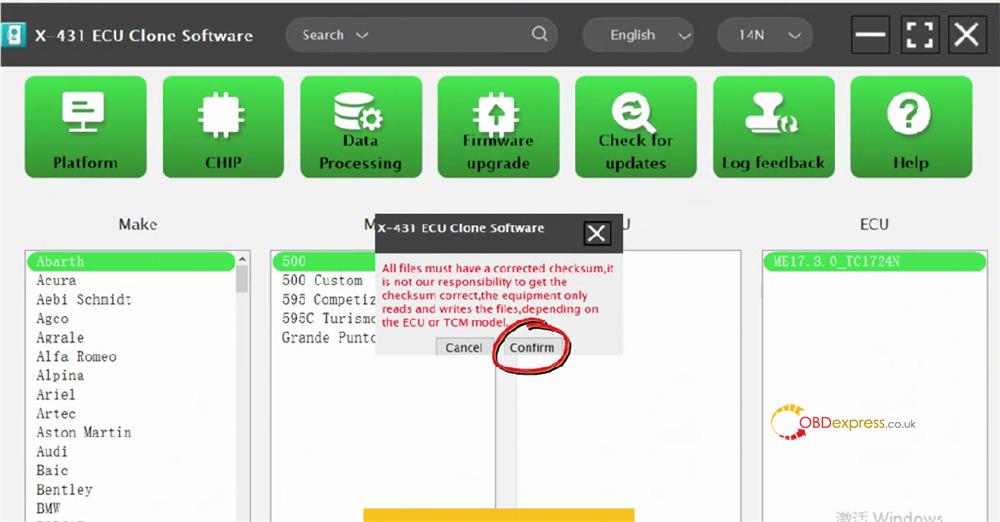
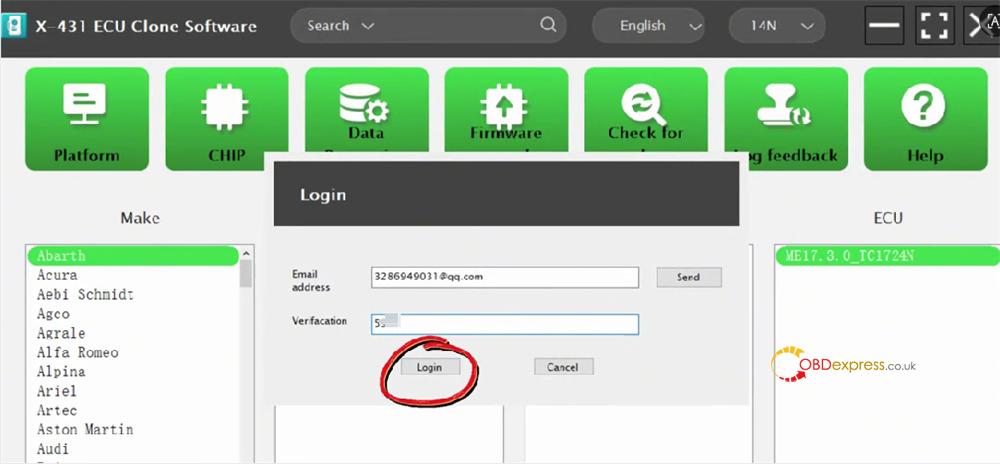
Next, you’ll be redirected to the Login interface. Enter a valid email address that you have immediate access to, then click Send. Check your inbox for the code, type it into the verification field, and click Login.
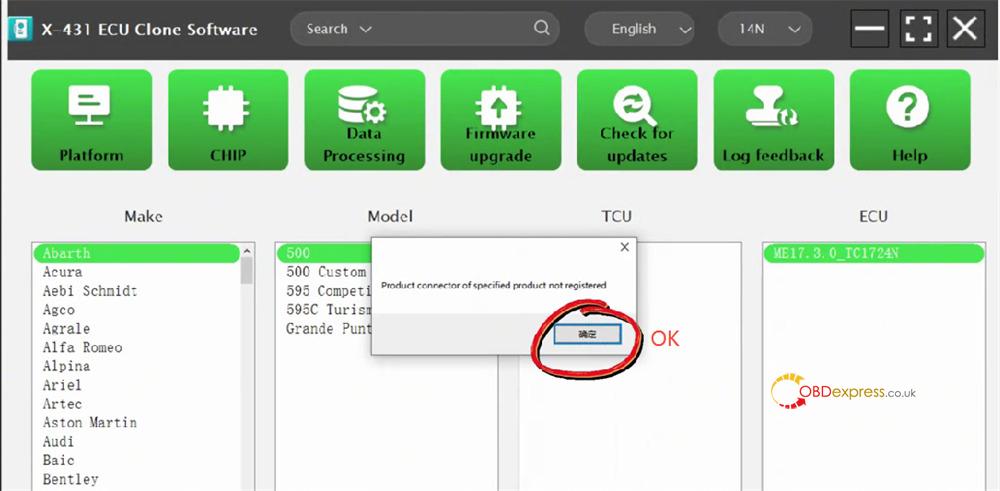
Because this is a first-time setup, the program will alert you that the device has not yet been registered. Simply click OK to proceed.
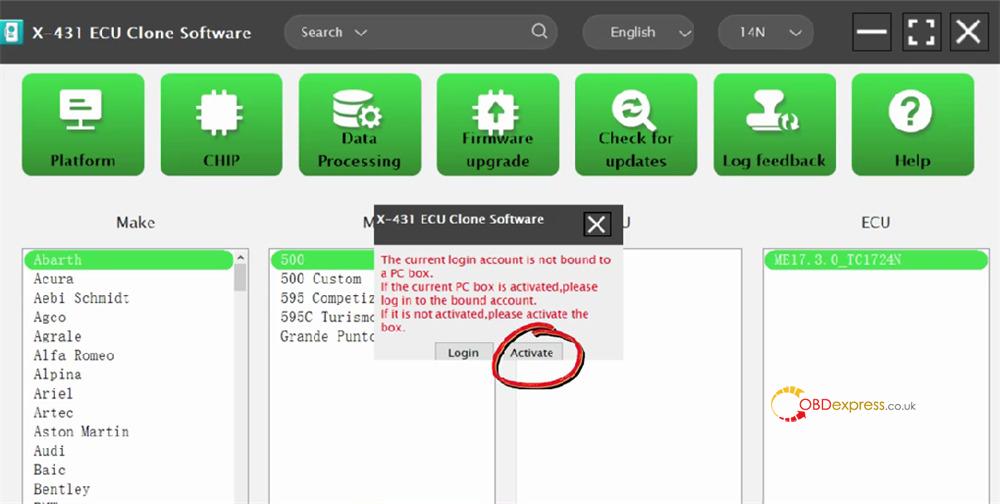
The software will now ask you to bind your login profile to the PC box. To bind a new unit, choose Activate.
The software will auto-detect and display your unique Serial Number. Retrieve the Activation Code printed on the accessory checklist sheet inside your product packaging, enter it into the empty field, and click Activate.
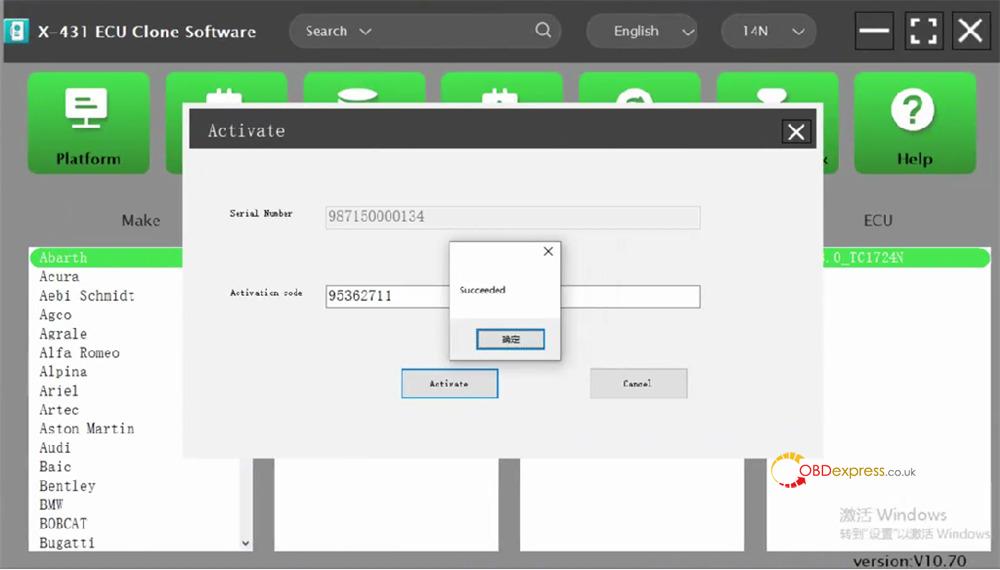
Congratulations! Your X431 X-PROG5 is now ready for action.
Read also:
LAUNCH X431 X-PROG 5 vs. X-PROG 3: How to Choose?
Launch X431 X-PROG 5: 2026 Buying Guide & FAQs
