


Can VXDIAG VCX NANO GM run with TIS2000 software? Of course, it can.
To make use of the VXDIAG GM nano with SPS, you are required to do what is stated below (the order is highly important):
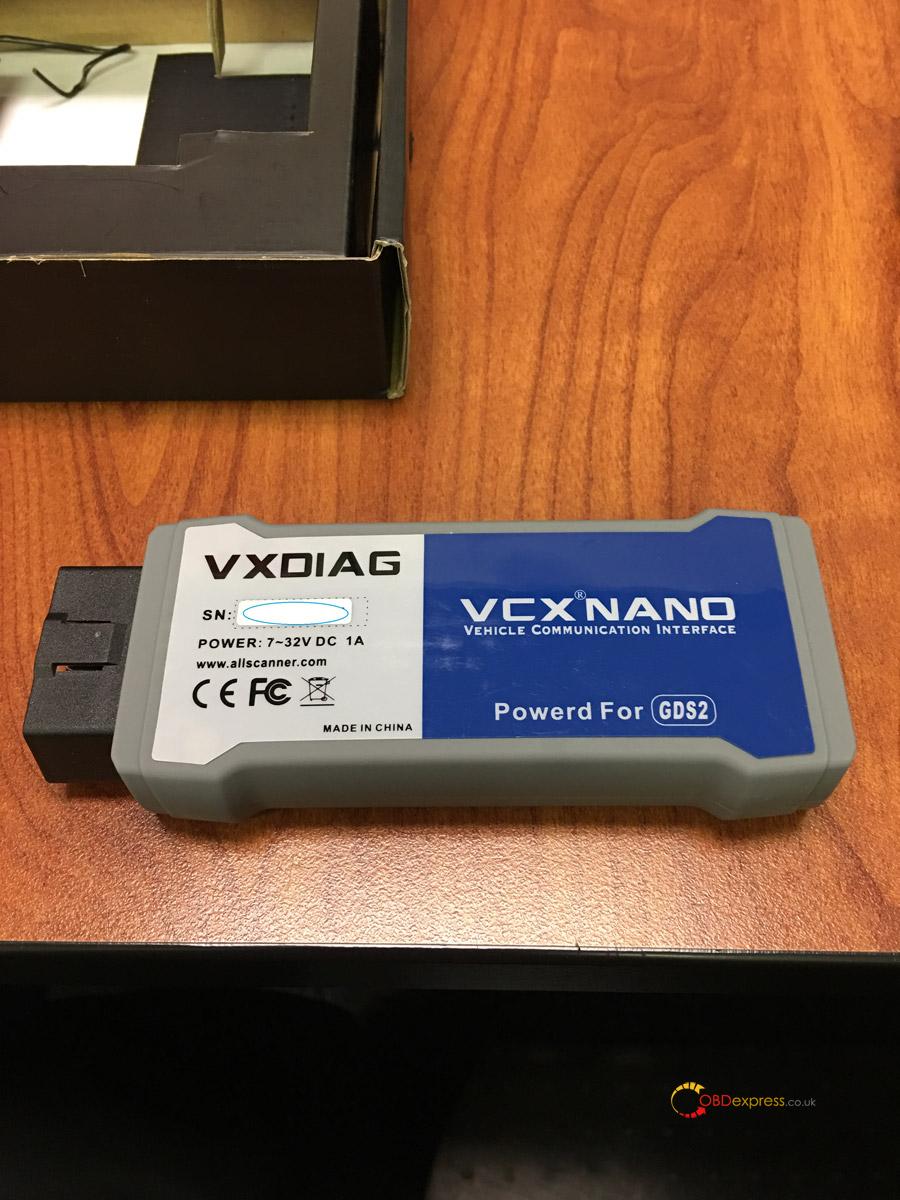
***Note: you are unable to utilize the VM which the VXDIAG package brings (GDS2 VM). It can’t run with the dongle crack. For me, finding this out is head-scratching.
1. Utilize VMWare Player to set up a windows XP 32bit VM
2. Ensure that you supplement an LPT port (set to auto, not connected on startup). Whether your actual PC owns an LPT port makes no difference, nevertheless, this is demanded for the dongle crack afterwards.
3. Configure VMWare tools for your VM
- As soon as you make the windows VM run in good condition, please mount the BOSH MDI drivers here:
http://www.boschdiagnostics.com/pro/soft%C2%85-and-mdi-2
(the MDI drivers on the driver disk and vxmanager installer wouldnt configure on my xp 32bit VM, but the one from bosh does)
5.By virtue of pass thru driver (VXDIAG MDI manager or VXDIAG Manager), configure the VXDIAG MDI package from the driver disk or from allscanner.com
Download tis_data_1.iso, tis_data_2.iso, GM-NAO-TIS200-3_2008.iso, TIS2000DongleCrack.rar from http://auto-professionals.co/?dl=5847273d53a0b0635724a7b3e1626ef7 (password: mhhauto)
- (files / instructions in the updated.txt you may have to click the link over once provided that you gain an error in the process of downloading)
7. Install the tis_data_1.iso in your VM (utilize the virtual cdrom in vmware player and add to iso file), this will launch the auto install of the TIS2000 2007.3 software)
8. With the default selections, every option is able to be mounted. Be that as it may, please ensure you examine the install checkbox above the parallel security device on the one screen.
9. Once the installation is done, you are able to get the TIS2000DongleCrack.rar and duplicate the folder to the desktop of your VM
10. Enter the TIS2000DongleCrack folder, find out the drivers folder and unfold it, work the DDINST32.EXE (provided that you dont mount an LPT port in your VM, you will gain a registry error), choose Express and it is supposed to mount the files then click ok / Exit to close.
11. Return to the main TIS2000DongleCrack folder and duplicate SCAControlUI.exe and Id.dll to c:\Program Files\cosids\bin\ (it will prompt to supersede id.dll select yes).
12. Return to the main TIS2000DongleCrack folder into the Dongle folder and duplicate the 2 files in there to c:\windows\system32\ (the dongle crack is now installed)
13. Now install the tis_data_2.iso in your VM (utilize the virtual cdrom in vmware player and add to iso file) and unfold TIS2000 (double click the icon on your desktop). When TIS opens, it will ask you whether you intend to upgrade, click yes.
14. Once the upgrade finishes, install the GM-NAO-TIS200-3_2008.iso in your VM (utilize the virtual cdrom in vmware player and add to iso file) and unfold TIS2000 (double click the icon on your desktop). When TIS opens, it will ask you whether you intend to upgrade, click yes.
15. Once the upgrade finishes, you have smoothly configured TIS2000 2008.3 and the Dongle crack, now we are required to install TIS to utilize the VXDIAG GM nano
16. Unfold TIS2000 from the icon on your desktop, choose Configuration menu from the top and choose IO Management.
17. Click the Driver button and then the Browse button, find out the j2534.dll file in the window and click open (configure the J2534 Pass Thru Driver)
18. Now click the Add button (in IO management), go into exactly Generic Pass Thru in Logical Name and choose J2534 Pass Thru Driver in the Driver drop down, click OK.
19. Choose Generic Pass Thru in the list and click Properties in the Device Name drop down, choose VXDIAG, (ALLScanner) and click ok then click close to turn off IO Management.Right now, TIS2000 software is installed and configured, what you need to do is to plug your VXDIAG device into the PC / VM. To this end, first of all, you should utilize a usb and plug it into the PC then in the VMWare player menu, then enter removable devices and plug the Future Devices USB into serial converter. At this step my windows install didnt own the basic usb to serial drivers, therefore, I had to link the VM with the network (if not connected, please utilize the VMWare player menu to get access to the Internet) and windows downloaded them from the network and installed the device as com3. Now you are ready to go.At this moment, you are able to click SPS in TIS2000 and choose Generic Pass Thru to work as your device. So you can program!!
Satisfied, VXDIAG VCX NANO GM device serves as a clone to the GM MDI.
Credits to wizzardsl writing for the instructions for us.
