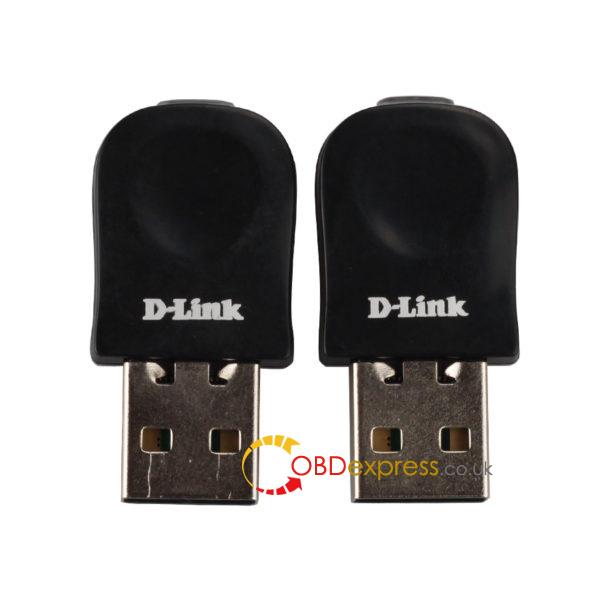
This is how to configure a wireless VCM II unit using the supplied D-Link wireless adapter shown as below:
This configuration allows the computer’s internal wireless card to connect to the internet while the supplied D-Link USB wireless adapter, installed in the computer, communicates with the VCM II.
INSTRUCTIONS: FIRST TIME CONNECTING WIRELESS TO THE VCM II (DEFAULT) (POINT TO POINT)
- Shutdown the IDS application.
- Disconnect the VCM II USB cable from both the computer and VCM II.
- Insert the supplied D-Link wireless adapter into an unused computer USB port.
A Windows “Pop-up” may appear if the device driver is being installed.
- Connect the VCM II to the vehicle using the DLC cable.
The VCM II’s wireless feature is enabled when connected to the vehicles 16-Pin DLC connector. It may take up to 30 sec for the wireless feature to be enabled.
- Startup the IDS application.
- If this is the first time IDS has been started, you will be prompted for preferences and settings. You may also be prompted for a license key or to validate your IDS license. For more details on IDS licensing, see the IDS Users Manual.
- If a VCM II software update is available, you will be prompted to connect the VCM II USB cable to perform the update.
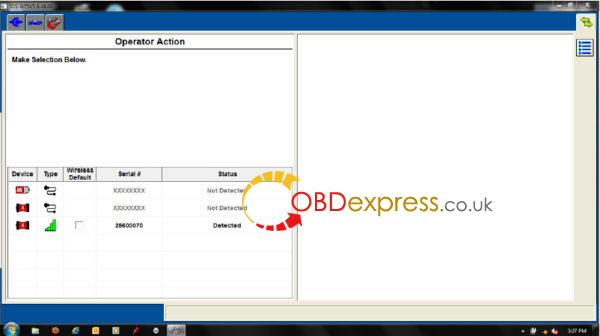
- Click on the “Device Selection” tab
 located at the top right corner of the IDS screen (see Figure 1: Device Selection Screen).
If the “Device Selection” tab is not visible, connect the VCM II to the computer using the USB cable.

- Select the VCM II that you would like to connect to.
WARNING: Verify the VCM II serial number belongs to your device. Failure to do so may disrupt other VCM II’s and risk personal injury.
- Check the “Wireless Default” box to make this VCM II your default. By specifying a default, you will no longer need to visit to this screen unless you want to connect to a different VCM II.
- The VCM II is ready to operate with IDS wirelessly.
Now you have VCM II with D-Link adapter for wireless diagnostic as VCM II SP177-C1 WiFi version.


