This is the GDS 2 installation instruction for wifi scanner VXDIAG VCX NANO Device for GM/OPEL.
Tools for use:
VXDIAG VCX NANO for GM/OPEL wireless diagnostic tool
Laptop with Win7 64bit /Win8 64bit system
Video guide:
https://www.youtube.com/watch?v=F1LHx4RJwUY
Steps:
Step 1 Install VMware
Step 2 Set COM Port
Step 3 Install VXDIAG GM Driver
Step 4 Diagnose via USB wired connection on 2009 Buick Regal
Step 5 Diagnose via WIFI on 2010 Buick Excel
Step 1 Install VMware
Open GDS2 software CD
Open “VMware-player-6.0.6-2700073” and install VMware-player
Install wizard for VMware Player
Click Next
Accept license agreement
Click Next
Click Next
Tick “Check for product updates on startup”, click Next
Click Next, Create desktop shortcuts, click Next
Press Continue
Setup Wizard complete, press Finish
Copy GDS2 VM folder on CD to Local Disk (E;)
Open VMware Player on desktop
Open a Virtual Machine->select E:/GDS2 VM->Win_XP_GDS2_11_2014
Select Play virtual machine
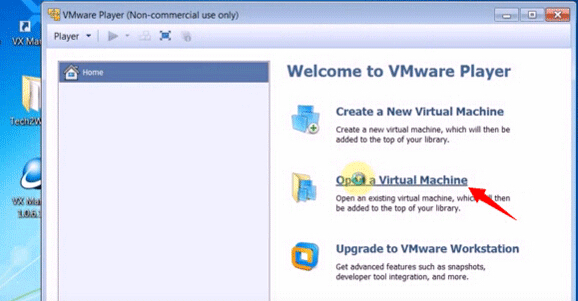
Click OK
Press “I copied it” if the system asks have you moved or copied the virtual machine
Click OK
Click OK
Step 2 Set COM Port
Make a full screen of VMware
Open Computer->Manager->Device Manager->Ports&LPT to check device is well connected to the computer
Click VMware, back to host machine, disconnect VCX Wifi connection
Open virtual machine again, go to Computer->Manager->Device Manager->Ports&LPT to check USB Serial Port is set to COM3
Step 3 Install VXDIAG GM Driver
Open VX Manger driver on desktop
Select “Configure” button
Select Connection Type as “USB”
Step 4 Diagnose via USB wired connection on 2009 Buick Regal
Open GDS2 software on desktop
Click Diagnostics
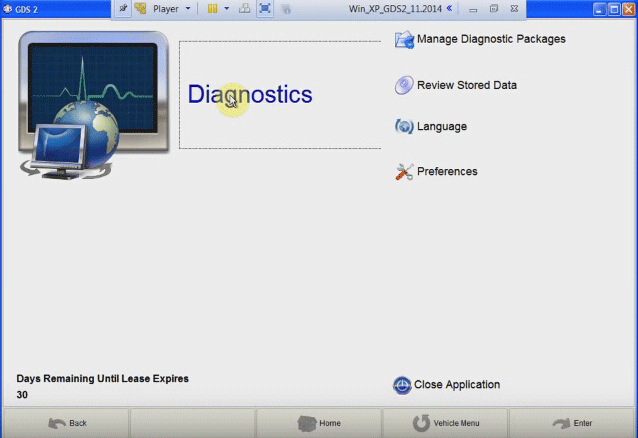
Come to GDS2 software program, click Enter
Select vehicle year and model, here obd2express technicians test a 2009 Buick Regal
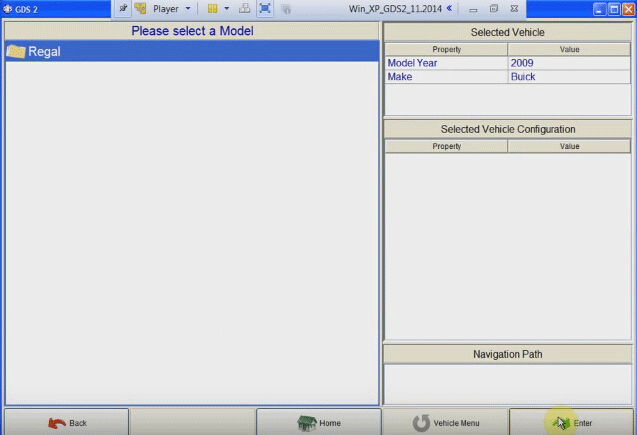
Click Enter
Module Diagnostics, click Enter
Engine Control Module, click Enter
Engine identifier: select 2.0L (LDK) and click Enter
Diagnostic Trouble Codes (DTCs) and click Enter
DTC display, click Enter
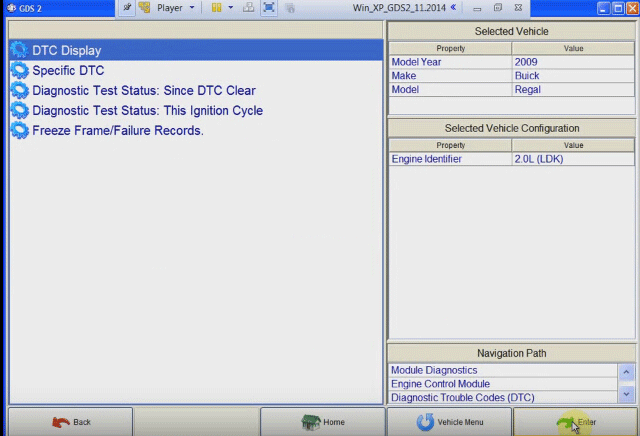
Click Details
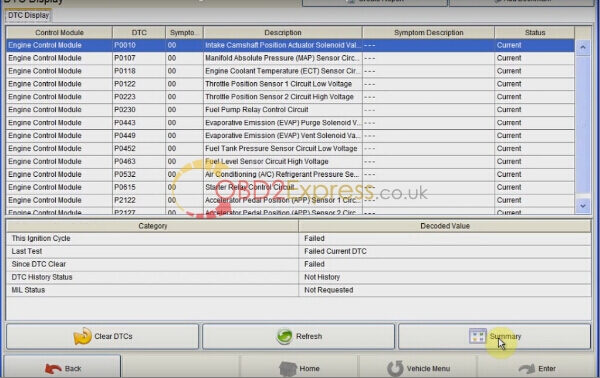
Read and click Back
Go to Home page and Close Applications
Close VM
Step 5 Diagnose via WIFI on 2010 Buick Excel
Connect VCX WIFI wireless connection
Open VX Manager on desktop
Press “Configure” function
Set Connection Type to “WLAN” and save it
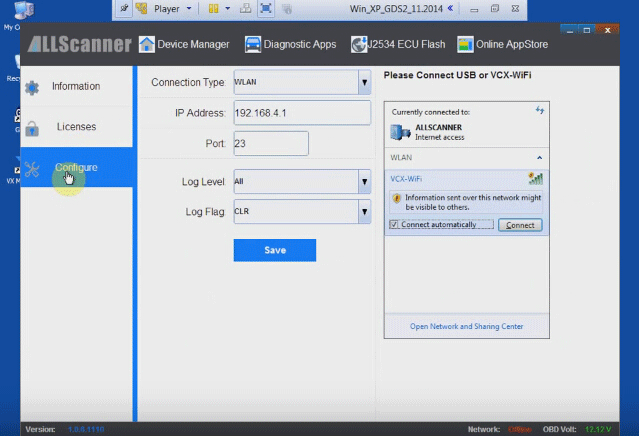
Open GDS2 software on desktop and diagnose 2010 Buick Excel.
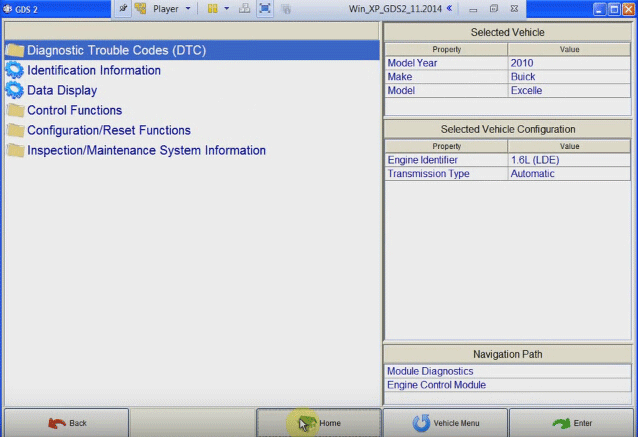
DCT display
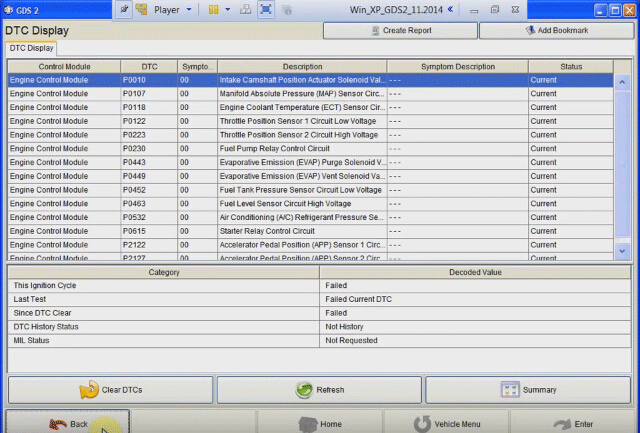
Read and click Back
Go to Home page and Close Applications
Close VM
Top reasons to choose VXDIAG GM scanner:
1) Support car communication via WIFI and USB cables.
2) Multi-language.
3) Power GM/Opel scanner, replacement tool for GM MDI, cheaper.
4) Software is updated via CD.
If software is not very large, we will upload it to internet and send download link to you. If it is very large, we will send CD to you.
5) Software can be installed on any PC. No need activation.
Attention: Please use our software on our hardware. Do not use software that is not belong to us, or update this tool online.


